Freshen Up Your Home Using Homemade Deodorizing Disks
Make sure to like Living Green and Frugally on Facebook, Shop at Amazon to help support my site and explore our PINTEREST BOARDS for innovative ways you can become self-sufficient.
In the battle against unwanted odors, especially in areas like trash cans, diaper pails, and litter boxes, sometimes air fresheners just don’t cut it. But fear not, there’s a simple solution to keep your home smelling fresh and inviting: homemade deodorizing disks.
These DIY disks are easy to make, cost-effective, and best of all, they work wonders in eliminating odors. With just a few simple ingredients and a little bit of time, you can freshen up your home naturally and effectively.
Ingredients:
To make your homemade deodorizing disks, you’ll need:
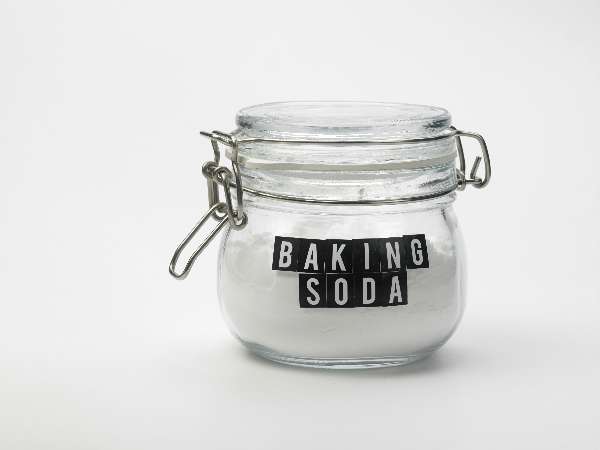
- Baking soda: Known for its odor-neutralizing properties, baking soda is a staple in many household cleaning solutions.
- Distilled water: Using distilled water helps ensure purity and prevents any impurities from affecting the effectiveness of the disks.
- Essential oil for fragrance: Choose your favorite essential oil or a combination of oils to add a pleasant scent to your disks. Popular choices include lavender, lemon, eucalyptus, or tea tree oil.
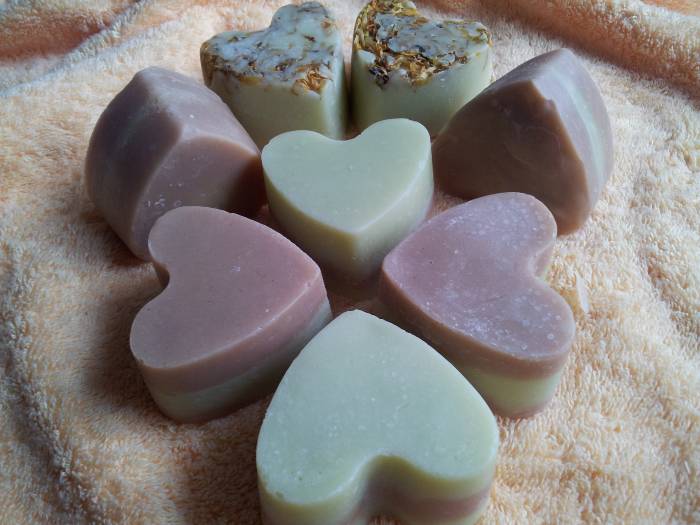
- Silicone mold or muffin pan: You’ll need a mold to shape your deodorizing disks. Silicone molds are ideal for easy removal, but a muffin pan can also work in a pinch.
Instructions:
- Begin by mixing 2 cups of baking soda with 1 cup of distilled water in a mixing bowl. Stir the mixture until it forms a thick paste-like consistency. You may need to adjust the amount of water slightly to achieve the right consistency.
- Once the baking soda and water are well combined, add 10-15 drops of your chosen essential oil(s) to the mixture. Stir thoroughly to ensure the oil is evenly distributed throughout the mixture.
- Spoon the mixture into your silicone mold or muffin pan, filling each cavity about halfway full. Smooth out the tops of the disks with the back of a spoon or spatula.
- Allow the disks to dry and harden for at least 24 hours. You can speed up the drying process by placing them in a warm, dry area or using a fan.
- Once the disks are completely dry and hardened, carefully remove them from the mold or muffin pan. They should easily pop out of silicone molds, but you may need to gently loosen the edges with a knife if using a muffin pan.
- Store the deodorizing disks in a sealed container until ready to use.
Usage:
Now that you have your homemade deodorizing disks ready, it’s time to put them to use! Here are some suggestions for where to place them to keep your home smelling fresh:
- Trash cans: Drop a deodorizing disk into the bottom of your trash can or bin to neutralize odors and keep unpleasant smells at bay.
- Diaper pails: Place a disk at the bottom of your diaper pail to help combat the inevitable odors that come with diaper changing.
- Litter boxes: Tuck a deodorizing disk underneath the litter in your cat’s litter box to help control odors between cleanings.
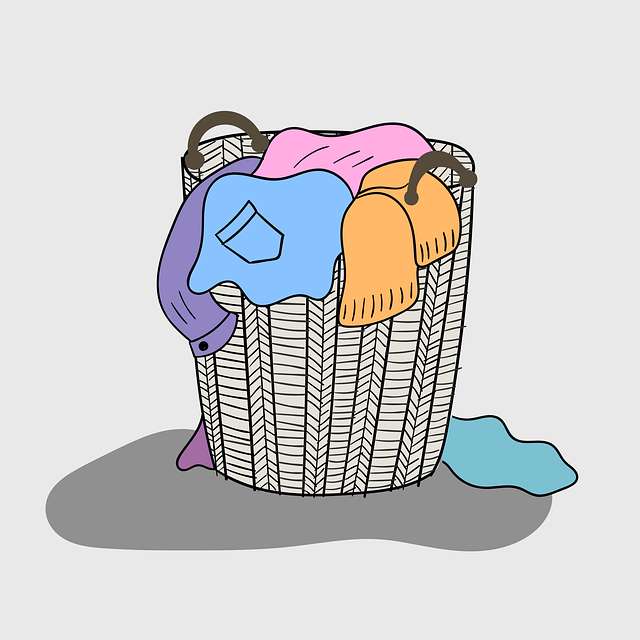
- Laundry rooms: Place a disk near your laundry hamper or in your laundry room to keep musty odors from dirty clothes at bay.
- Closets: Place a few disks on shelves or in drawers to keep your clothes smelling fresh and clean.
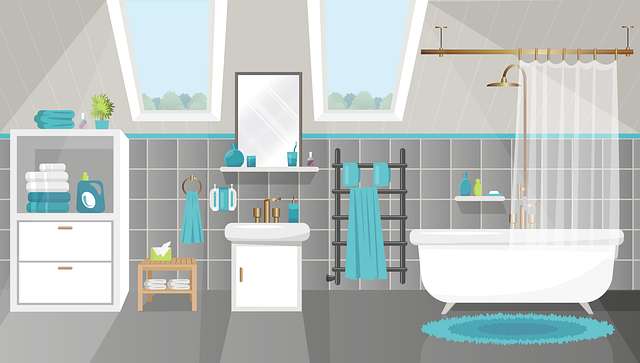
- Bathroom: Drop a disk into the toilet tank to keep your bathroom smelling fresh with every flush.
Conclusion: With just a few simple ingredients and a little bit of effort, you can create homemade deodorizing disks that will keep your home smelling fresh and clean. Whether you’re battling odors in trash cans, diaper pails, litter boxes, or any other area of your home, these DIY disks are sure to do the trick. Give them a try and say goodbye to unpleasant odors for good!