

How to Paint Kitchen Countertops
Make sure to like Living Green and Frugally on Facebook, Shop at Amazon to help support my site and explore our PINTEREST BOARDS for innovative ways you can become self-sufficient.
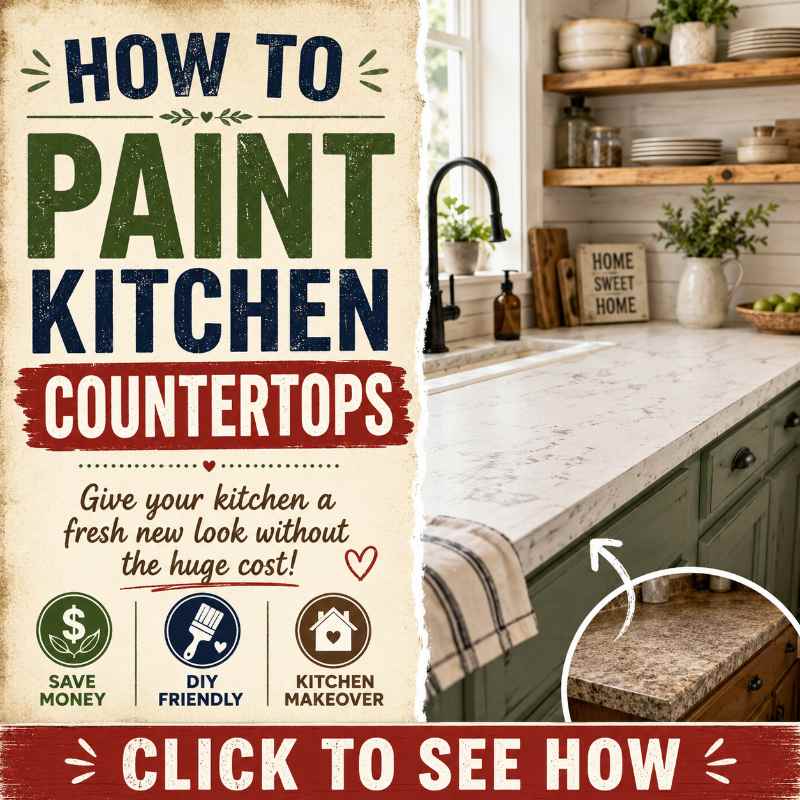
Give Your Kitchen A Fresh New Look Without Replacing A Thing 🎨
Kitchen countertops can make or break the look of a kitchen. If they are scratched, stained, dull, or stuck in a style from 20 years ago, the whole room can feel tired, even if the cupboards and floors are still perfectly usable.
The good news? You do not always need to rip everything out and spend thousands on new worktops. With the right prep, the right paint, and a bit of patience, painting kitchen countertops can be one of the most budget-friendly kitchen makeovers you can do.
This is perfect if you want a fresh look, you are updating on a tight budget, or you simply want to see if you like a new colour before committing to a full renovation. You can create a faux stone look, a soft modern matte finish, a marble effect, or even a darker dramatic counter that makes old cupboards look brand new.
If you love affordable home upgrades, you might also enjoy these ideas for 15 Budget Countertop Ideas and How To Make Your Own Concrete Countertop.
Can You Really Paint Kitchen Countertops?
Yes, you can paint kitchen countertops, especially laminate, wood, tile, and some older worktop surfaces. The secret is not the paint itself, it is the preparation.
A countertop takes daily abuse. It deals with cups, plates, crumbs, spills, heat, water, cleaning sprays, and the odd dropped tin of beans. So if you simply brush normal wall paint over it, it will not last.
To get a finish that looks good and holds up, you need to clean, sand, prime, paint, seal, and let it cure properly. Skipping any of these steps is usually why painted countertops peel, scratch, or go patchy.
Why Painting Countertops Is Worth Considering 💡
Painting your countertops can be a brilliant option if:
Your kitchen is functional but looks dated
You want a makeover without replacing cabinets
You are working with a small budget
You want a weekend DIY project with a big visual payoff
You are preparing a home to sell or rent
You want to test a darker, lighter, or stone-style look before buying new counters
A painted countertop will not be exactly the same as stone, quartz, or professional resurfacing, but it can look surprisingly good when done carefully.
For more kitchen DIY inspiration, have a look at DIY Kitchen Island With Built In Trash Storage if you want to make your kitchen more practical as well as prettier.
What You Need To Paint Kitchen Countertops
Before you start, gather everything first. Once you begin painting, you do not want to be hunting around for tape, rollers, or sandpaper with wet paint on the counter.
You will need:
- Degreasing cleaner or warm soapy water
- Sponge or cloths
- Fine sandpaper, usually around 220 grit
- Sanding block or electric sander
- Dust mask and eye protection
- Painter’s tape
- Plastic sheets or old cloths
- Bonding primer suitable for slick surfaces
- Countertop paint, cabinet paint, enamel paint, or countertop coating kit
- Small brush for edges
- Foam roller for a smoother finish
- Clear protective topcoat or countertop sealer
- Optional sponge, feather, or small artist brush for faux stone effects
Step 1: Clear And Deep Clean The Countertops 🧽
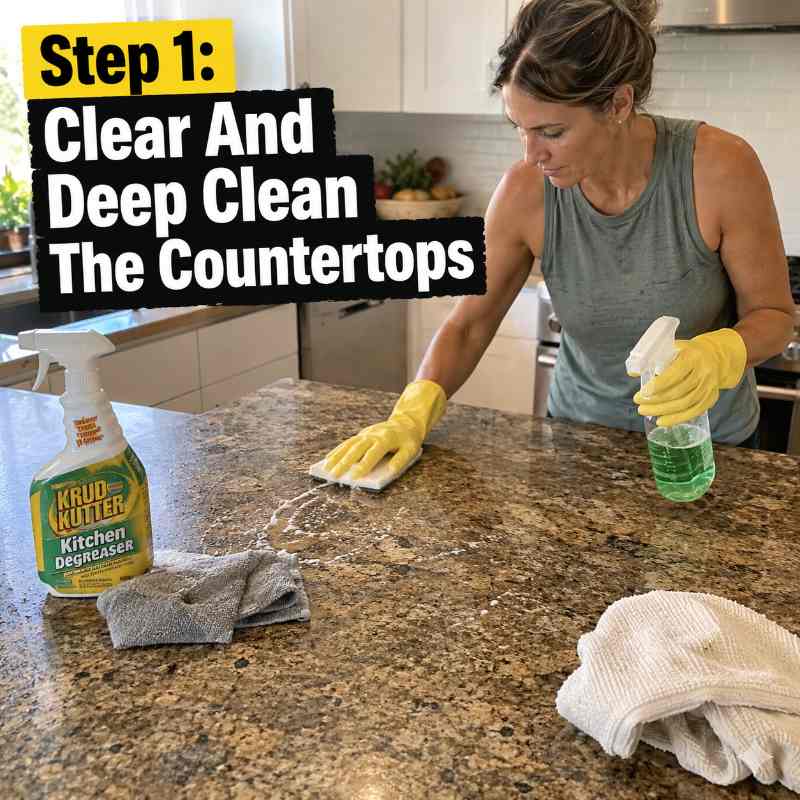
Remove everything from the worktops. That means toaster, kettle, jars, fruit bowl, chopping boards, and anything sitting near the wall.
Next, clean the surface thoroughly. Kitchen counters collect grease, especially near the cooker. Even if they look clean, there can be a thin film of oil that stops paint sticking properly.
Use a degreasing cleaner or warm soapy water and scrub the entire surface. Pay extra attention to edges, corners, joins, and the area around the sink. Rinse with clean water and let it dry completely.
Do not rush this step. Paint needs a clean surface to bond well.
Step 2: Repair Chips, Cracks, And Loose Edges
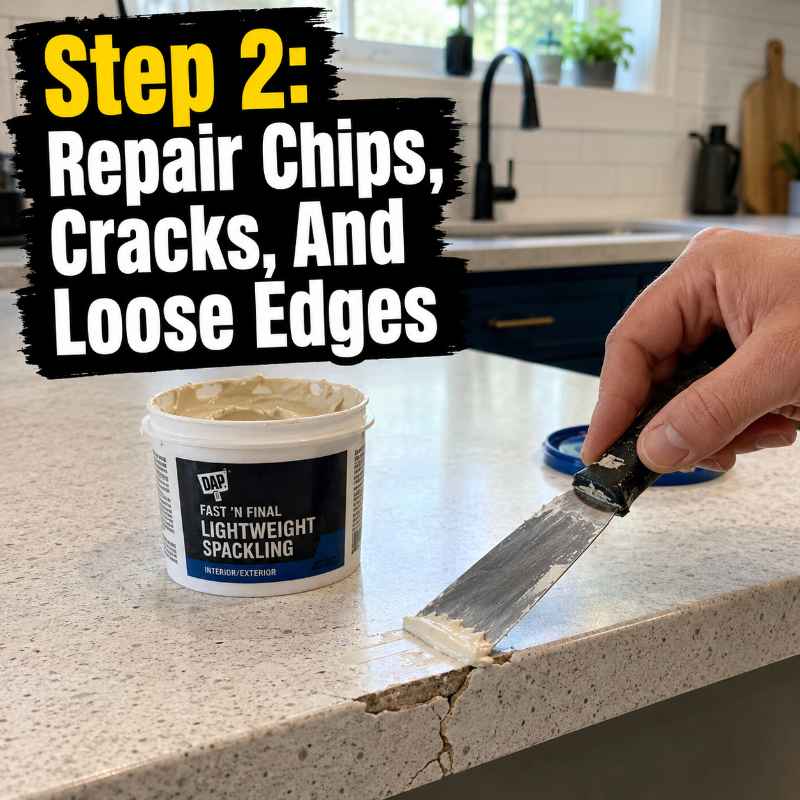
Look closely at the countertop. If there are chips, dents, lifted laminate edges, or cracks, fix them before painting.
Small chips can often be filled with a suitable filler or repair product. Let it dry fully, then sand it smooth. If laminate is lifting at an edge, glue and clamp it down before painting.
Painting over damage does not hide it as much as people hope. In fact, fresh paint can sometimes make lumps and dents more noticeable.
Step 3: Sand The Surface
This is one of the most important parts.
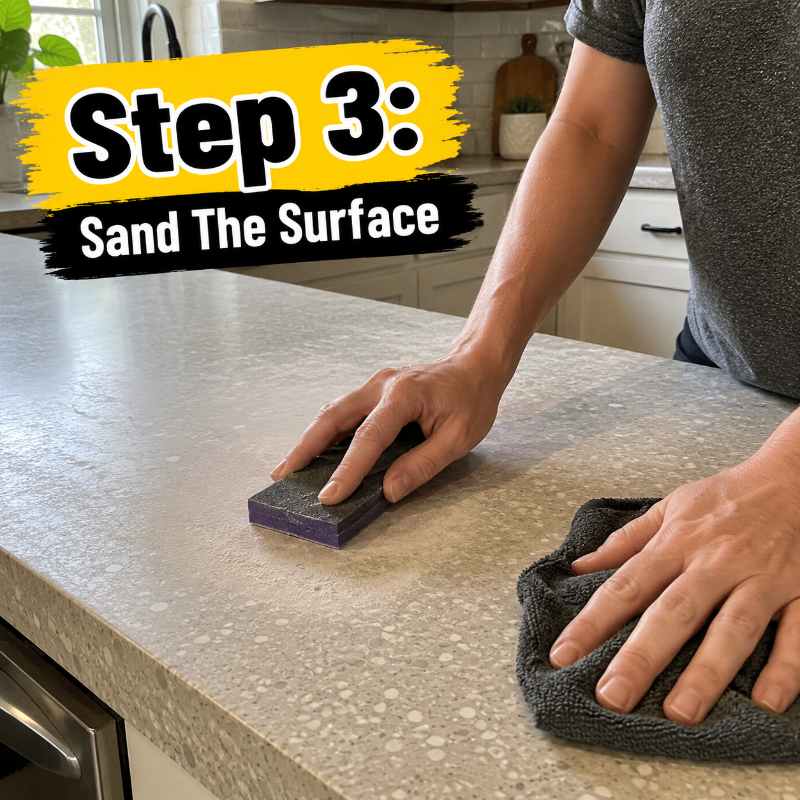
You are not trying to sand the counter away. You are simply scuffing the surface so the primer has something to grip. Glossy laminate and shiny counters are too slick for paint to stick to properly unless they are lightly sanded first.
Use fine sandpaper and sand the whole surface evenly. Do the front edge, sides, backsplash lip if you have one, and any corners. Wipe away the dust with a damp cloth, then use a dry cloth after.
The counter should feel smooth but slightly dulled, not shiny.
Step 4: Tape And Protect Everything
Use painter’s tape around the sink, walls, tiles, cupboards, and any area you do not want painted.
Cover the floor and cabinet fronts with old sheets or plastic. Paint drips, primer splashes, and sealer marks are much easier to prevent than clean up later.
Take your time here. Neat taping makes the finished job look much more professional.
Step 5: Apply A Bonding Primer
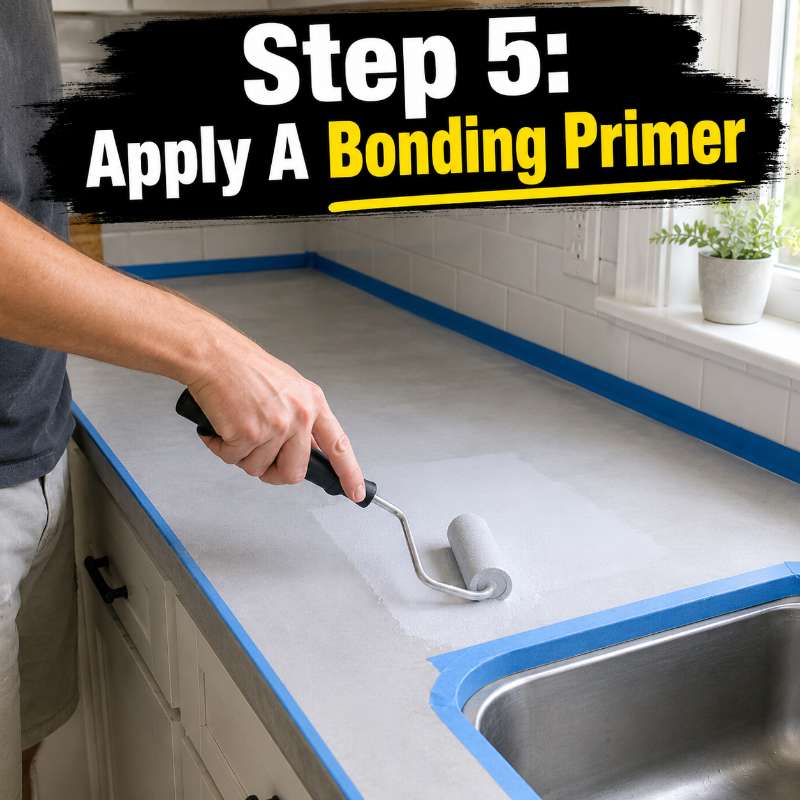
Primer is what helps the paint stick. Choose one designed for difficult or slick surfaces.
Use a brush around edges and tight corners, then a foam roller across the main surface. Apply thin, even coats rather than one thick coat. Thick primer can leave marks and take longer to dry.
Let it dry for the full time recommended on the tin. If the instructions say wait longer, wait longer. Countertop painting rewards patience.
Step 6: Paint The Countertops
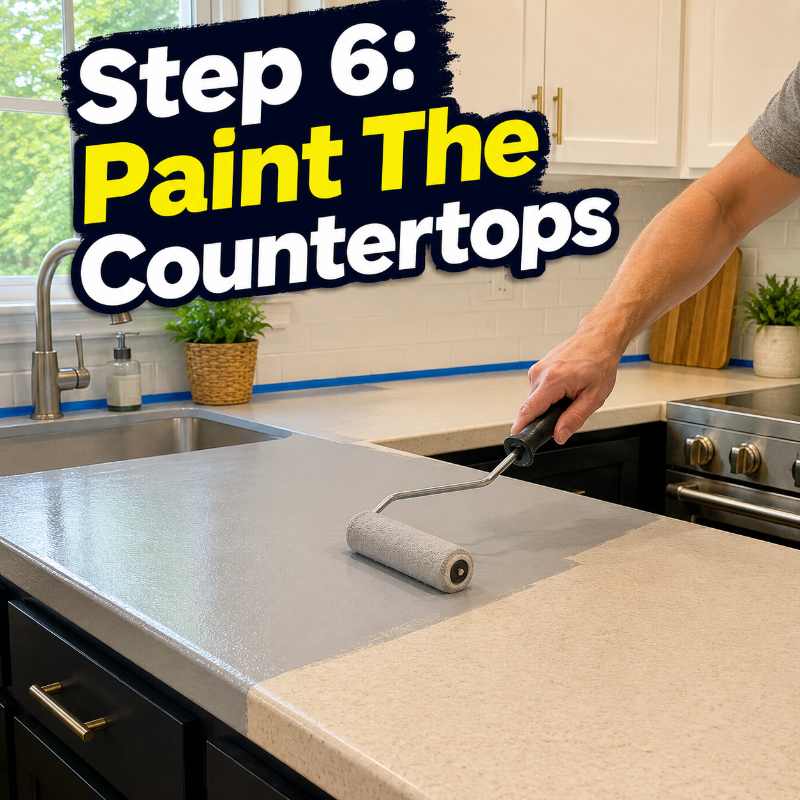
Now the fun part begins.
Use a durable paint suitable for furniture, cabinets, enamel work, or a proper countertop coating kit. A foam roller usually gives the smoothest finish on flat surfaces.
Apply the first coat thinly and evenly. Do not worry if it looks patchy at first. A second coat normally improves the coverage. Let each coat dry properly before adding the next one.
Most countertops need two or three coats.
Colour Ideas That Work Well
Soft white for a clean cottage kitchen
Charcoal grey for a modern farmhouse look
Black for a dramatic high-end feel
Warm beige or stone for a natural look
Deep green or navy for a bold, cosy kitchen
Faux marble for a bright Pinterest-style finish
Step 7: Add A Faux Stone Or Marble Effect
This step is optional, but it can make a painted countertop look much more expensive.
For a stone effect, dab on a few lighter and darker tones with a sponge. Keep turning the sponge so the pattern looks random.
For a marble effect, use a small brush or feather to add soft grey veins over a white or cream base. Then lightly soften the lines with a dry brush or sponge so they do not look too harsh.
The trick is to stop before you overdo it. Real stone has movement, but it also has empty space. Leave some areas plain.
Step 8: Seal The Countertop
Once the paint is fully dry, seal it with a clear protective topcoat suitable for countertops.
This is what helps protect the paint from water, stains, and everyday use. Use thin coats and let each coat dry as instructed. You may need two or more coats depending on the product.
Do not skip sealing. Painted counters without protection are much easier to scratch and stain.
Step 9: Let It Cure Properly ⏳
This is where many people ruin the job.
Dry and cured are not the same thing. Paint may feel dry to the touch in a few hours, but it can take days or even weeks to harden fully.
During the curing time:
Do not put heavy appliances back too soon
Avoid standing water around the sink
Do not chop directly on the counter
Do not place hot pans on it
Use placemats or soft cloths under anything you return early
The longer you baby it at the start, the better chance it has of lasting.
How To Care For Painted Countertops
Painted kitchen countertops need gentler treatment than stone or solid laminate.
- Use chopping boards for food prep
- Use trivets for hot pans
- Wipe spills quickly
- Avoid harsh scrubbers
- Clean with mild soap and water
- Do not let water sit around the sink
- Use trays under coffee machines, kettles, and soap bottles
Also remember that most painted countertop finishes are not designed for food to be placed directly on them. Use plates, trays, and chopping boards.
Common Mistakes To Avoid ⚠️
- Skipping the sanding step
- Using ordinary wall paint
- Painting over grease
- Applying thick coats
- Not allowing enough drying time
- Forgetting to seal the finish
- Putting appliances back too soon
- Using abrasive cleaners afterwards
The biggest mistake is rushing. Countertop painting is simple, but it is not a slap-it-on-and-done job.
Is Painting Better Than Replacing?
It depends on your kitchen.
Painting is best when the counter is still solid but ugly. If it is swollen, rotten, badly water damaged, or falling apart, replacement may be the better choice.
If you like DIY countertop makeovers, you may also want to read How To Build Your Own Butcher Block for another budget-friendly option with a warm rustic look.
Frequently Asked Questions
How long do painted kitchen countertops last?
With good prep, careful sealing, and gentle use, painted countertops can last several years. High-use kitchens may need touch-ups sooner, especially around the sink, cooker, and kettle area.
Can I paint laminate countertops?
Yes, laminate is one of the most popular surfaces to paint. The key is cleaning, sanding, priming, and sealing properly.
Can I paint over tile countertops?
Yes, but the grout lines will usually still show unless you fill or skim them first. Tile also needs strong primer because it is smooth and shiny.
Can I put hot pans on painted countertops?
No. Always use a trivet or heatproof mat. Hot pans can mark, soften, or damage the painted and sealed finish.
Is painted countertop paint food safe?
Most painted countertop finishes are not meant for direct food preparation. Always use chopping boards, plates, and trays.
Can I use normal emulsion paint?
No, normal wall paint is not tough enough for kitchen countertops. Use a durable paint or coating designed for hard-wearing surfaces.
Do I need to remove the sink?
Usually no. You can tape carefully around the sink. However, if you are doing a full kitchen renovation, removing the sink can give a cleaner finish around the edges.
What is the best finish for painted countertops?
A satin or semi-gloss finish is often easier to clean than flat matte paint. A clear protective topcoat is usually the most important part for durability.
Final Thoughts
Painting kitchen countertops is one of those DIY projects that can completely change how a kitchen feels without the huge cost of replacement. It is affordable, creative, and surprisingly effective when done properly.
The secret is patience. Clean well, sand lightly, prime properly, paint in thin coats, seal carefully, and give the finish time to cure.
If your kitchen feels dated but your budget says “not yet” to a full remodel, this could be the weekend project that makes you love the room again. A tired old worktop can become a fresh, stylish surface with just a few supplies, a steady hand, and a little bit of DIY confidence.