Canning 101 – Canning Tips & Resources
Make sure to like Living Green and Frugally on Facebook, Shop at Amazon to help support my site and explore our PINTEREST BOARDS for innovative ways you can become self-sufficient.
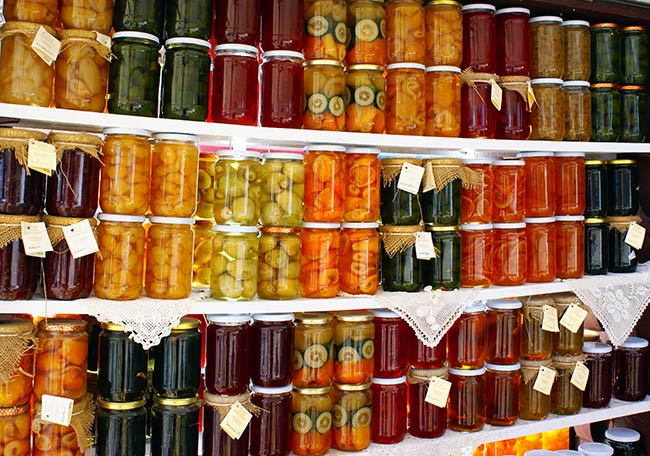
Canning is a time-honored method of preserving food that dates back centuries, allowing you to extend the shelf life of fruits, vegetables, and other perishables. This process ensures that you can enjoy the flavors of the harvest throughout the year.
Whether you’re a seasoned canner or a beginner eager to explore the world of food preservation, this guide will equip you with essential canning tips, explain the differences between pressure canners and water bath canners, and share some delightful canning recipes to try at home.
Understanding the Difference: Pressure Canner vs. Water Bath Canner
The key difference between a pressure canner and a water bath canner lies in the types of food they are used to process.
- Water Bath Canning: This method is ideal for high-acid foods like fruits, pickles, and jams—foods with a pH level of 4.6 or lower. In this process, jars filled with food are submerged in boiling water. The heat effectively destroys harmful microorganisms and creates a vacuum seal, preventing spoilage.
- Pressure Canning: Required for low-acid foods such as most vegetables, meats, and some fruits, which have a pH level higher than 4.6. These foods are at risk of harboring dangerous bacteria like Clostridium botulinum. Pressure canners reach higher temperatures and pressure than boiling water, which is necessary to safely eliminate bacteria and ensure proper preservation.
Step-by-Step Guide to Canning
- Gather Your Equipment:
- Essential tools include glass canning jars, lids, and bands. Check your jars for any cracks or chips. You’ll also need a canning funnel, jar lifter, and a trusted canning recipe book.
- Select Quality Produce:
- Choose ripe, unblemished fruits and vegetables. The quality of your produce directly affects the taste and texture of your canned goods.
- Prepare the Food:
- Follow a trusted recipe to prepare your food, which may involve cleaning, peeling, chopping, or blanching the ingredients as required.
- Sterilize the Jars:
- Sterilize your jars by placing them in boiling water or running them through a dishwasher cycle.
- Fill the Jars:
- Use a canning funnel to carefully ladle the prepared food into the sterilized jars, leaving the appropriate headspace as indicated in your recipe.
- Apply Lids and Bands:
- Wipe the jar rims clean, place the lids on top, and screw on the bands until they are fingertip-tight. This ensures air can escape during processing.
- Process the Jars:
- Depending on the food’s acidity, choose either the water bath canning or pressure canning method. Follow your recipe for the correct processing time and temperature.
- Cool and Test the Seals:
- After processing, let the jars cool naturally. Test the seals by pressing down on the lid centers; they should be firm and not flex. Any unsealed jars should be refrigerated and used promptly.
Top Canning Tips
- Use Reputable Recipes: Always follow recipes from trusted sources like the National Center for Home Food Preservation or established canning books. These recipes have been tested for safety and accurate processing times.
- Adjust for Altitude: If you live at a high altitude, adjust your processing times accordingly, as water boils at a lower temperature.
- Don’t Reuse Lids: While jars and bands can be reused, the flat metal lids should not be reused, as they may fail to seal properly the second time around.
- Store Properly: Store your canned goods in a cool, dark place with a consistent temperature to maintain their quality.
Favorite Canning Recipes to Try
- Classic Strawberry Jam: Capture the sweet taste of summer with this delightful strawberry jam. Perfect on toast or as a topping for ice cream and pancakes.
- Spicy Pickled Vegetables: Enjoy the tangy, zesty flavors of pickled vegetables. Customize with your favorite veggies and add a touch of spice for an extra kick.
- Tomato Basil Pasta Sauce: Preserve the rich flavors of ripe tomatoes and fresh basil in a delicious pasta sauce that will elevate any Italian dish.
- Peach Salsa: Combine the sweetness of peaches with the heat of jalapeños for a mouthwatering salsa that’s perfect with chips or as a topping for grilled chicken or fish.
Conclusion
Canning is a rewarding and practical skill that allows you to savor the tastes of the season all year round. By understanding the differences between water bath canning and pressure canning, following proper canning procedures, and experimenting with delicious recipes, you’ll be well on your way to becoming a canning expert. So, roll up your sleeves, stock up on fresh produce, and embark on a canning journey that will fill your pantry with delicious homemade delights. Happy canning!