Homemade Coconut Oil Shampoo Bar Recipe
Make sure to like Living Green and Frugally on Facebook, Shop at Amazon to help support my site and explore our PINTEREST BOARDS for innovative ways you can become self-sufficient.
In recent years, there’s been a rekindled interest in natural and sustainable alternatives for personal care products. Among these, homemade shampoo bars have emerged as a popular choice, offering a blend of simplicity, effectiveness, and environmental friendliness. If you’re looking to step into the world of eco-conscious hair care, crafting your own coconut oil shampoo bar might just be the perfect venture for you.
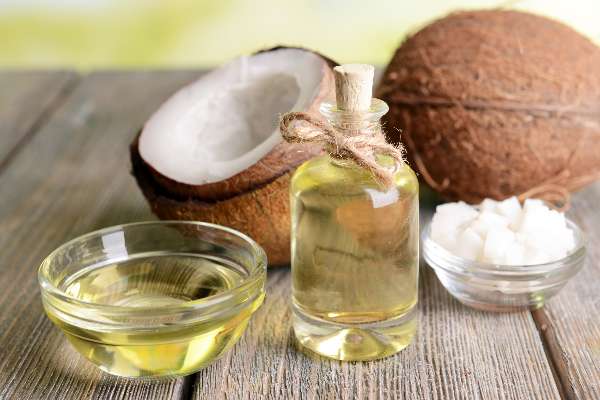
Why Coconut Oil?
Coconut oil is revered for its nourishing properties, making it a splendid choice for hair care. Packed with fatty acids, vitamins, and minerals, it’s known to moisturize, strengthen, and add shine to hair strands. By using coconut oil as a base ingredient in a homemade shampoo bar, you’re creating a natural solution that’s gentle yet potent for various hair types.
Why Combine multiple oils?
Combining multiple oils in a homemade shampoo bar recipe offers a range of benefits that cater to different hair needs and contribute to the overall quality of the final product. Each oil brings its unique properties, making the shampoo bar more effective and versatile. Here’s why various oils are commonly used together:
1. Diverse Nutrient Profile:
- Coconut Oil: Known for its moisturizing and antimicrobial properties, it helps in hydrating the scalp and hair.
- Olive Oil: Rich in antioxidants and vitamins, it helps nourish and strengthen hair strands.
- Shea Butter: Provides moisture and protects hair from environmental damage due to its rich fatty acid content.
- Castor Oil: Aids in hair growth and acts as a humectant, attracting moisture to the hair shaft.
2. Balance and Consistency:
- Combining different oils helps strike a balance between nourishment, cleansing, and lathering properties in the shampoo bar.
- Some oils have high cleansing properties (like castor oil), while others offer moisturizing benefits (like coconut oil and shea butter). Blending them creates a balanced formula.
3. Customization and Versatility:
- Each oil contributes to the texture, hardness, and conditioning aspects of the final shampoo bar.
- By blending oils, you can tailor the bar to suit specific hair types (dry, oily, curly, etc.) or address various scalp concerns (dandruff, itchiness, etc.).
4. Enhancing Fragrance and Aesthetics:
- Different oils may have varying natural scents. Combining them allows you to create a pleasant fragrance in your shampoo bar without relying on artificial fragrances.
- The combination of oils can also affect the color and appearance of the final product.
5. Synergistic Effects:
- Some oils work better together, enhancing each other’s properties. For instance, combining coconut oil’s moisturizing effect with castor oil’s cleansing properties creates a more effective cleansing experience without drying out the hair.
6. Stability and Shelf Life:
- Certain oils have different shelf lives or susceptibility to rancidity. Combining oils can help increase the stability and shelf life of the final product.
While it’s possible to make a shampoo bar using fewer types of oils, combining them allows you to create a more well-rounded and effective hair care product. Experimentation with different oil combinations can help you discover the blend that best suits your hair type and preferences.
Homemade Coconut Oil Shampoo Bar Recipe
Ingredients:
- 200g Coconut Oil – buy yours here from amazon
- 200g Olive Oil – buy yours here from amazon
- 200g Shea Butter – buy yours here from amazon
- 100g Castor Oil – buy yours here from amazon
- 100g Lye (Sodium Hydroxide) – buy yours here from amazon
- 120ml Distilled Water – buy yours here from amazon
- 1-2 tablespoons Essential Oil (optional for fragrance) – buy yours here from amazon
Instructions:
- Preparation: Ensure you’re in a well-ventilated area, wearing protective gear such as gloves and goggles.
- Lye Solution: Carefully add lye to distilled water (never the other way around) while stirring until fully dissolved. Let it cool.
- Oil Blend: Melt coconut oil, olive oil, shea butter, and castor oil together in a double boiler. Allow it to cool to around 100-110°F (37-43°C).
- Combining: Slowly pour the lye solution into the oil blend while stirring continuously until it reaches trace (a slightly thickened consistency).
- Fragrance: If desired, add essential oils and stir well.
- Molding: Pour the mixture into silicone molds and let it cure for 4-6 weeks in a cool, dry place.
How to Use Your Homemade Shampoo Bar:
- Wet Your Hair: Thoroughly wet your hair.
- Lather: Rub the shampoo bar between your hands to create a lather, or rub the bar directly on your hair.
- Massage: Gently massage the lather into your scalp and hair.
- Rinse: Rinse your hair thoroughly with water.
Safety Precautions:
- Lye Handling: Handle lye with extreme care, wearing protective gear and following safety guidelines.
- Ventilation: Ensure proper ventilation during the preparation of the shampoo bar to avoid inhaling fumes.
- Curing Time: Allow the bars to cure for the recommended duration before use to neutralize any remaining lye.
Tips for Making and Using Shampoo Bars:
- Experiment with Essential Oils: Customize your shampoo bar with essential oils like lavender, rosemary, or tea tree for added fragrance and benefits.
- pH Balance: Check the pH of your shampoo bars using pH strips to ensure they’re hair-friendly.
- Proper Storage: Store the bars in a dry area when not in use to prolong their life.
Additional Information:
- Environmental Benefits: Shampoo bars reduce plastic waste, being packaged in minimal or no plastic, making them an eco-friendly alternative.
- Travel-Friendly: Solid shampoo bars are TSA-friendly and convenient for travel without worrying about liquid restrictions.