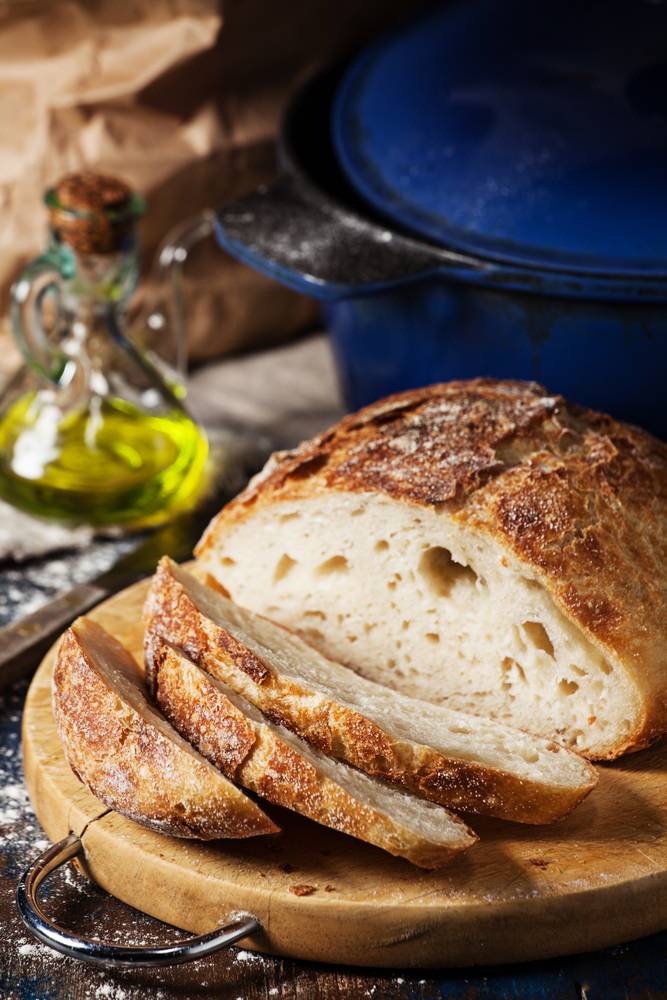
Simple Crusty Bread Recipe Baked In A Cast Iron Pot
Make sure to like Living Green and Frugally on Facebook, Shop at amazon to help support my site and explore our PINTEREST BOARDS for innovative ways you can become self-sufficient.
Easy No-Knead Crusty Bread Recipe in a Dutch Oven
In the world of culinary marvels, the art of baking bread holds a special place. There’s something magical about the aroma of freshly baked bread filling your home, tempting your taste buds even before it’s out of the oven. While traditional bread-making might seem daunting, this no-knead crusty bread recipe is a game-changer, requiring just four simple ingredients and a mere 5 minutes of prep time.
When it comes to achieving that perfect artisanal loaf, the secret lies not just in the ingredients but also in the baking vessel. Dutch ovens, with their ability to create the ideal environment for baking bread, play a crucial role. If you don’t have a Dutch oven yet, consider investing in one like this crock pots , ensuring a beautifully baked crusty bread every time. Additionally, a quality crock pot can serve multiple purposes in the kitchen, making it a versatile addition to your culinary arsenal.
Recipe: No-Knead Crusty Bread
Ingredients:
- 3 cups all-purpose flour
- 1 ½ teaspoons salt
- ½ teaspoon active dry yeast
- 1 ½ cups lukewarm water
Instructions:
- Preparation: In a large mixing bowl, combine the flour, salt, and yeast. Gradually pour in the lukewarm water while stirring with a wooden spoon or spatula until a shaggy dough forms. Don’t overmix; a rough dough consistency is what you’re aiming for. Cover the bowl with plastic wrap and let it rest at room temperature for 12-18 hours, allowing the dough to rise and develop flavor.
- Preheat: After the initial rise, preheat your oven to 450°F (230°C). Meanwhile, place your Dutch oven (with its lid) inside the oven as it preheats. This step is crucial for creating that perfect crust.
- Shaping the Dough: While the oven is heating, lightly flour a clean surface. Gently scrape the risen dough onto the floured surface and shape it into a ball by folding the edges towards the center. Cover the dough loosely with a kitchen towel and let it rest while the oven continues to preheat.
- Bake: Once the oven and Dutch oven are fully preheated, carefully remove the hot Dutch oven. Take off the lid and carefully place the dough ball into the pot. Be cautious as the pot will be extremely hot. Put the lid back on and return the Dutch oven to the oven.
- Bake Covered: Bake the dough covered for 30 minutes. The lid creates steam inside the pot, which helps in forming the crust.
- Bake Uncovered: After 30 minutes, remove the lid and continue baking for an additional 10-15 minutes or until the bread turns a deep golden brown color and sounds hollow when tapped on the bottom.
- Cool and Enjoy: Once baked, carefully remove the bread from the Dutch oven and let it cool on a wire rack for at least 30 minutes before slicing. This waiting period is challenging, but it allows the bread to set and develop its perfect texture.
This no-knead crusty bread is a testament to the beauty of simplicity. With just a handful of ingredients and minimal effort, you can achieve bakery-quality bread in the comfort of your home.
Investing in quality cookware like a Dutch oven can significantly enhance your culinary adventures. If you’re in search of a reliable Dutch oven, consider this crock pots for a durable and versatile addition to your kitchen arsenal.
View this post on Instagram
Tips and Hints for Perfect Bread:
- Temperature Precision: Use lukewarm water to activate the yeast. If the water is too hot, it might kill the yeast, and if it’s too cold, the yeast won’t activate properly.
- Dutch Oven Magic: The Dutch oven creates a steamy environment crucial for crust development. Ensure the pot is preheated alongside the oven for optimal results.
- Experiment with Flavors: Add herbs, seeds, or even cheese to the dough for variations in flavor and texture.
- Patience Pays Off: Allow the dough to rest adequately during each stage—fermentation, shaping, and cooling—for the best texture and flavor.
- Slice When Cool: As tempting as it may be, resist slicing into the bread right out of the oven. Allowing it to cool ensures the texture settles.
With these tips and a reliable Dutch oven, baking this no-knead crusty bread becomes an effortless and rewarding experience. Don’t forget to explore the versatility of a crock pot, which can elevate your cooking in various ways and simplify your culinary adventures.
Conclusion:
In the realm of baking, simplicity often yields the most incredible results. With this no-knead crusty bread recipe and the aid of a trusty Dutch oven, you can savor the joy of baking delicious artisanal bread with minimal effort. Don’t forget to explore the versatility of a crock pot, a valuable tool that can elevate your cooking experience in numerous ways.
Happy baking and enjoy the delightful aroma of freshly baked bread wafting through your home!