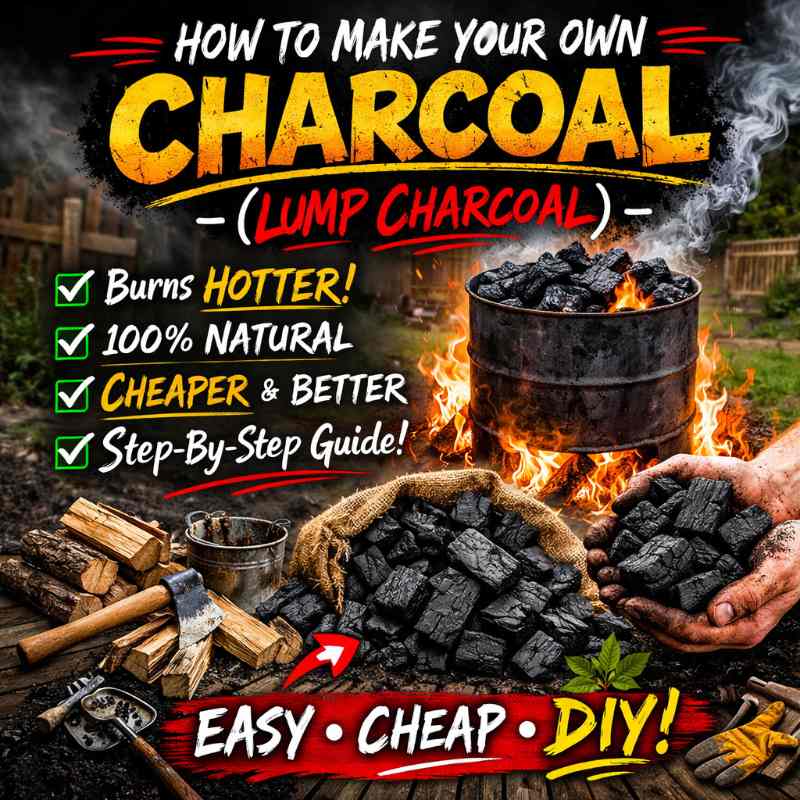
How To Make Your Own Charcoal (a.k.a. lump charcoal)
Make sure to like Living Green and Frugally on Facebook, Shop at Amazon to help support my site and explore our PINTEREST BOARDS for innovative ways you can become self-sufficient.
How To Make Your Own Charcoal (a.k.a. Lump Charcoal) 🔥
The Ultimate DIY Guide to Homemade Lump Charcoal for Grilling, Blacksmithing & Off-Grid Living
There’s something deeply satisfying about making your own charcoal. Not briquettes packed with fillers and chemicals. Not store-bought bags that burn too fast or cost a fortune. I’m talking about real lump charcoal — clean, hot-burning, natural fuel made from nothing but wood and fire.
Whether you’re grilling in the garden, cooking over a fire pit, blacksmithing in a backyard forge, or preparing for a more self-sufficient lifestyle, learning how to make your own charcoal is a powerful skill.
And here’s the truth…
👉 You don’t need fancy equipment.
👉 You don’t need special chemicals.
👉 You just need wood, fire, and a little know-how.
Let’s break it down step by step.
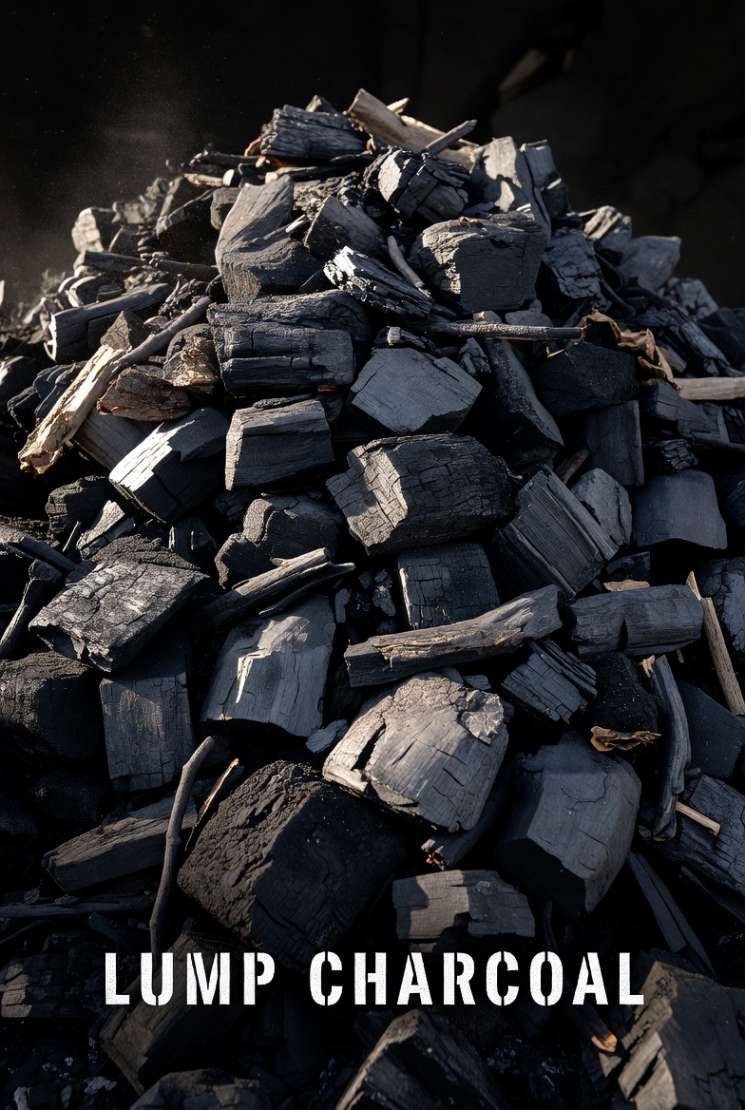
What Is Lump Charcoal? 🤔
Lump charcoal is made by heating wood in a low-oxygen environment. Instead of burning into ash, the wood releases moisture, sap, and volatile gases — leaving behind nearly pure carbon.
The result?
- 🔥 Burns hotter than briquettes
- 🌱 No additives or fillers
- 💨 Less smoke (once lit)
- 🍖 Better flavour for grilling
It’s the same type of charcoal used historically for:
- Traditional blacksmithing
- Iron smelting
- Cooking over open fires
- Survival and homesteading fuel
And yes… you can absolutely make it yourself.
Why Make Your Own Charcoal? 💪
Let’s talk benefits.
🔥 1. It Burns HOTTER
Homemade lump charcoal can reach higher temperatures than briquettes — perfect for searing steaks or running a forge.
💰 2. It’s Much Cheaper
If you have access to scrap wood, fallen branches, or offcuts, your fuel becomes nearly free.
🌳 3. You Control What Goes In
No chemicals. No binders. No mystery ingredients.
🏕 4. Perfect for Off-Grid Living
Charcoal stores well, is lightweight, and is a reliable cooking fuel during power outages.
🛠 5. It’s a Valuable Skill
Knowing how to make charcoal connects you to centuries-old traditional methods.
This is homesteading-level self-reliance.
How To Make Your Own Charcoal (Step-By-Step Guide)
There are several methods, but this is the simplest and most beginner-friendly method: the metal drum method.
What You’ll Need 🧰
- A metal drum with lid (old oil drum works well)
- Hardwood (oak, beech, ash, maple are ideal)
- Firewood to burn underneath
- A few small tools (drill, shovel, gloves)
- A safe outdoor space
⚠️ Always follow fire safety laws in your area.
Step 1: Choose the Right Wood 🌳
Hardwood is best.
Good choices:
- Oak
- Ash
- Beech
- Maple
- Hickory
Avoid:
- Treated wood
- Painted wood
- Pressure-treated timber
- Softwoods (they produce lower-quality charcoal)
Cut wood into manageable chunks — about fist-sized.
Dry wood works best. Green wood produces more smoke and lower yield.
Step 2: Prepare the Drum 🔩
Drill a few small holes near the bottom of the drum to allow limited airflow.
The key is low oxygen. Too much air and your wood turns to ash.
Fill the drum tightly with wood chunks.
Place the lid on loosely (not sealed tight).
Step 3: Build a Fire Around the Drum 🔥
Place the drum upright.
Build a strong fire around and underneath it.
The goal is to heat the wood inside without letting it fully burn.
After 15–30 minutes, you’ll notice thick white smoke pouring out. That’s moisture and gases being released.
Later, the smoke will thin and turn bluish. That means most volatile gases have burned off.
This process usually takes 2–4 hours depending on drum size.
Step 4: Seal and Cool 🧯
When smoke nearly stops:
- Remove external fire
- Seal the lid tightly
- Block airflow holes if possible
Now let it cool completely.
⚠️ Do NOT open while hot. Oxygen + hot charcoal = instant fire.
Let it sit overnight.
Step 5: Open and Inspect 👀
When fully cool:
Open the drum.
Inside you should find lightweight, black, solid charcoal pieces.
Tap two pieces together — they should sound hollow and metallic.
If they crumble into ash, too much oxygen got in.
If there are brown uncharred pieces, it didn’t cook long enough.
Pro Tips For Better Charcoal 🌟
🔥 Pack Wood Tightly
Less oxygen = better charcoal.
🌡 Control Airflow
Too many holes = ash.
Too few holes = incomplete burn.
🪵 Use Consistent Wood Size
Uniform chunks cook evenly.
🌬 Watch Smoke Color
White = moisture
Thick yellow/white = gases
Thin blue = nearly done
🧯 Keep Safety First
Have water or extinguisher nearby.
Alternative Method: Pit Burn (Primitive Method)
If you don’t have a drum:
- Dig a pit in the ground.
- Fill with hardwood.
- Start a fire.
- Once burning well, cover with soil leaving small vents.
- Let it smoulder for hours.
- Seal and cool completely.
This is how charcoal was made historically.
It works — but the drum method gives more consistent results.
Common Questions About Making Charcoal
❓ How long does homemade charcoal last?
If kept dry, it can last indefinitely.
❓ Can I use softwood?
You can, but it burns faster and produces lower quality charcoal.
❓ Is this legal?
Check local fire regulations before starting.
❓ Why did mine turn to ash?
Too much oxygen entered during the process.
❓ Why is some wood still brown inside?
It didn’t reach high enough temperature or wasn’t cooked long enough.
❓ Can I cook food with homemade charcoal?
Yes — as long as you used clean, untreated hardwood.
❓ Does it produce carbon monoxide?
Yes. Always make charcoal outdoors.
Best Uses for Homemade Lump Charcoal 🔥
- BBQ grilling
- Dutch oven cooking
- Blacksmithing
- Emergency fuel storage
- Water filtration (crushed charcoal)
- Biochar for soil improvement
This isn’t just BBQ fuel — it’s a survival skill.
Final Thoughts
Making your own charcoal is one of those skills that feels almost primitive… in the best possible way.
You’re taking raw wood and transforming it into high-energy fuel using nothing but fire and patience.
It saves money.
It builds self-reliance.
It connects you to traditional methods.
And it produces better grilling fuel than most store-bought options.
Once you try it, you’ll look at every fallen branch differently.
🔥 Wood isn’t waste.
It’s potential energy waiting to be unlocked.