Make sure to like Living Green and Frugally on Facebook, Shop at Amazon to help support my site and explore our PINTEREST BOARDS for innovative ways you can become self-sufficient.
How To Build a Worm Tower
🌱 Turn Kitchen Scraps Into Garden Gold
What if I told you that you could feed your garden for free, reduce waste, and boost your soil health all with one simple DIY project?
That is exactly what a worm tower does.
This little underground system quietly turns your food scraps into rich, nutrient-packed soil right where your plants need it most. No complicated compost bins. No turning piles. No smell. Just nature doing its thing.
And the best part? You can build a worm tower in under 30 minutes using cheap or recycled materials.
Whether you are growing vegetables, trying to improve poor soil, or just love the idea of low effort gardening, this is one of those hacks that feels almost too good to be true.
Let’s build one 👇
🛠️ How To Build a Worm Tower
What You Will Need
- A length of PVC pipe or a large plastic bottle or bucket
- Drill or sharp tool
- Soil
- Kitchen scraps
- A lid or cover
- Optional: composting worms
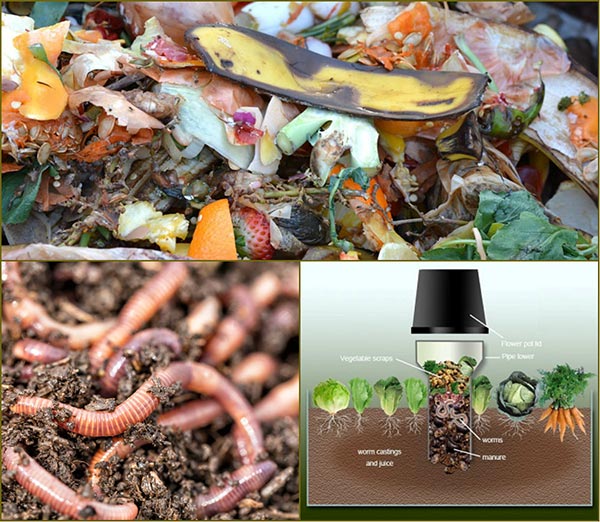
Step 1: Choose Your Container
You can use almost anything cylindrical. A piece of PVC pipe around 30 to 60 cm long works perfectly. If you want a budget option, a large plastic bottle or old container works just as well.
Tip: Aim for something around 10 to 15 cm wide so worms can easily move in and out.
Step 2: Drill Holes
Drill holes all around the sides of your container, especially the bottom half.
These holes allow worms to travel between the tower and your soil.
Make sure:
- Holes are large enough for worms
- There are plenty of them
- The bottom section is well perforated
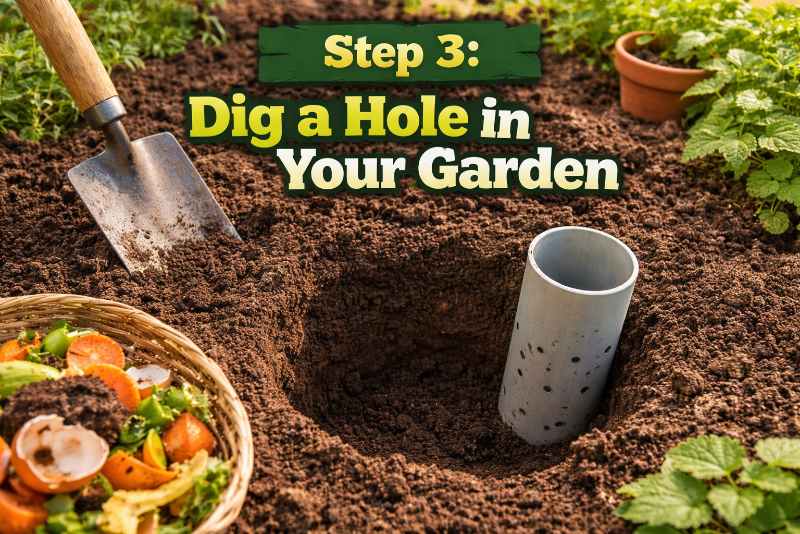
Step 3: Dig a Hole in Your Garden
Dig a hole deep enough so that most of your tower sits underground.
Leave about 5 to 10 cm sticking above the surface.
This helps keep pests out and gives you easy access when feeding it.
Step 4: Install the Worm Tower
Place your container into the hole and backfill soil around it to hold it firmly in place.
Make sure it is stable and upright.
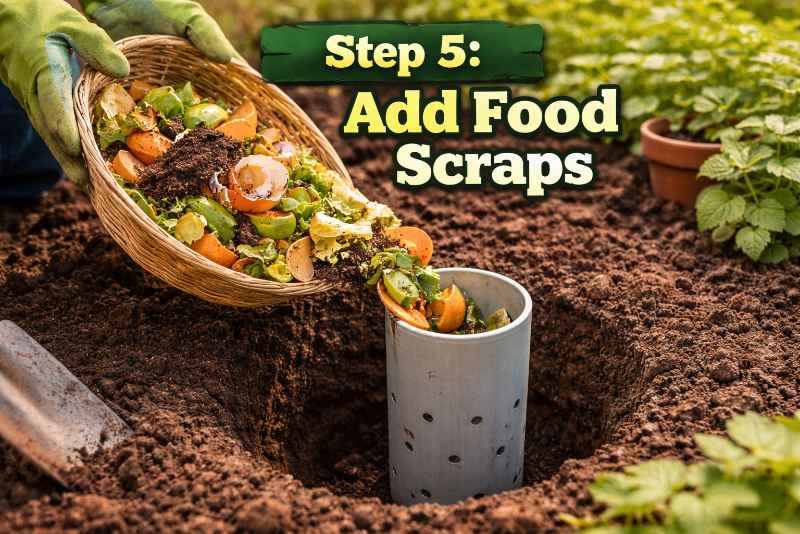
Step 5: Add Food Scraps
Start feeding your worm tower with:
- Vegetable peels
- Fruit scraps
- Coffee grounds
- Crushed eggshells
Avoid meat, dairy, and oily foods as they can attract pests.
Step 6: Add Worms or Let Nature Do It
You can add composting worms if you want faster results.
Or simply wait. Worms will naturally find the food and move in on their own.
Step 7: Cover It Up
Use a lid, piece of wood, or even a rock to cover the top.
This keeps:
- Rain from flooding it
- Pests out
- Moisture balanced
Step 8: Keep Feeding It
Every few days, add more scraps.
Over time, worms will break everything down and spread nutrients into your soil.
That is it. Your worm tower is now working for you 24 hours a day. 🐛
🌿 Why This Matters
Building a worm tower is not just a cool garden trick. It is a game changer for anyone wanting healthier soil and less waste.
Here is why:
- Improves soil naturally
Worms create nutrient rich castings that feed your plants - Reduces food waste
Turn scraps into something useful instead of throwing them away - Saves money
Less need for fertilizers and compost - Boosts plant growth
Healthier soil means stronger plants and better harvests - Low maintenance
No turning, no smell, no complicated setup - Perfect for small spaces
Works in raised beds, gardens, and even large pots - Encourages beneficial soil life
Worms improve soil structure and water retention
It is one of the simplest ways to upgrade your garden without spending a fortune. 💚
⚠️ Practical Tips and Mistakes To Avoid
✅ Tips for Success
- Chop scraps smaller to speed up decomposition
- Keep it moist but not soaked
- Use a lid at all times
- Place it near plants that need feeding
- Rotate feeding spots inside the tower
❌ Common Mistakes
- Adding meat or dairy which attracts pests
- Overfeeding which can cause smells
- Not enough holes limiting worm movement
- Letting it dry out which slows everything down
- Placing it too shallow making it less effective

❓ Frequently Asked Questions
1. Do I need to buy worms?
No. Worms will naturally find your tower if there is food available. Adding worms just speeds things up.
2. Will it smell?
Not if used correctly. Stick to fruit and vegetable scraps and avoid overfilling.
3. How often should I feed it?
Every few days or whenever you have scraps. Small amounts work best.
4. Can I use it in raised beds?
Yes. Worm towers work extremely well in raised beds and even improve soil over time.
5. What happens in winter?
Worm activity slows down, but the system still works. You may just need to feed it less.
6. How long before I see results?
You may notice healthier plants within weeks. Soil improvement continues over time.
🌟 Final Thoughts
If you are looking for a simple, powerful, and almost effortless way to improve your garden, building a worm tower is one of the smartest things you can do.
It takes minutes to set up, costs next to nothing, and keeps working day after day.
Imagine turning your everyday kitchen scraps into rich, living soil that feeds your plants naturally. No chemicals. No hassle. Just a smarter way to garden.
Give it a try and watch what happens.
And once you do, you will probably wonder why you did not build one sooner 😉