

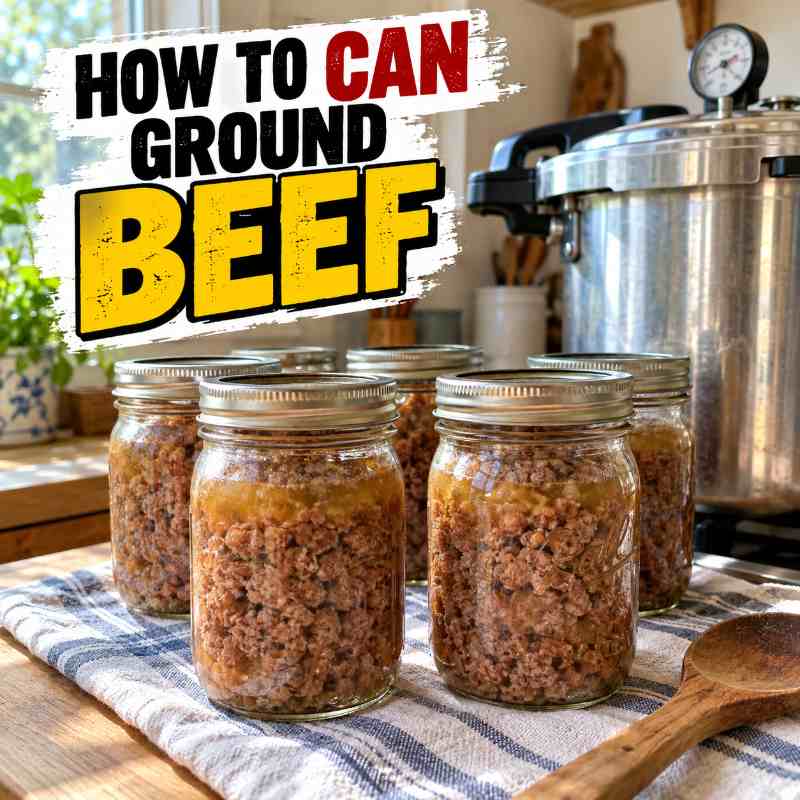
How To Can Ground Beef
Make sure to like Living Green and Frugally on Facebook, Shop at Amazon to help support my site and explore our PINTEREST BOARDS for innovative ways you can become self-sufficient.
How To Can Ground Beef
Canning ground beef is one of those food-preservation skills that can make life so much easier. Having jars of fully cooked beef sitting in the pantry means you can put together tacos, casseroles, pasta dishes, soups, chilli and quick dinners without having to defrost meat first.
It is also a great way to preserve ground beef when you find it reduced or buy it in bulk.
The important thing to remember is that meat is a low-acid food. Ground beef must be processed in a pressure canner using a tested method. A boiling-water bath is not safe for canning meat.
Here is a simple way to do it.
What You Will Need
For basic canned ground beef you only need a few ingredients:
- Fresh ground beef
- Boiling beef broth, tomato juice or water
- Canning salt, optional
- Clean pint or quart canning jars
- New canning lids
- Pressure canner
- Jar lifter
- Canning funnel
Using leaner ground beef works particularly well because there will be less excess fat to remove.
Step 1: Brown The Ground Beef
Place the ground beef in a large frying pan or pot.
Cook it until it is lightly browned, breaking the meat apart as it cooks.
You do not need to cook it until it becomes dry or crispy. The goal is simply to brown the meat before it goes into the jars.
Drain away as much excess fat as possible.
This is important because excessive fat can interfere with the jar seal.
Step 2: Prepare The Jars
Prepare your canning jars according to the jar manufacturer’s instructions.
Keep the jars hot while you prepare the meat.
Bring your chosen liquid to a boil. You can use:
- Beef broth
- Water
- Tomato juice
Broth gives the finished beef a little more flavour, although plain water works perfectly well.
Step 3: Fill The Jars
Pack the hot browned ground beef into the hot jars.
Do not pack it down extremely tightly.
Pour boiling broth, tomato juice or water over the meat.
Leave 1 inch of headspace at the top of each jar.
Run a bubble remover or plastic utensil around the inside of the jar to release trapped air bubbles.
Check the headspace again and add more hot liquid if necessary.
Salt is optional. If you want to add it, use canning salt rather than ordinary table salt.
Wipe the jar rims carefully so there is no grease or food preventing a proper seal.
Add the lids and bands according to the manufacturer’s directions.
Step 4: Pressure Can The Ground Beef
Ground beef must be pressure canned.
For pint jars, process for 75 minutes.
For quart jars, process for 90 minutes.
The correct pressure depends on your type of pressure canner and your altitude.
For a weighted-gauge canner:
- 0–1,000 feet: 10 pounds pressure
- Above 1,000 feet: 15 pounds pressure
For a dial-gauge canner:
- 0–2,000 feet: 11 pounds pressure
- 2,001–4,000 feet: 12 pounds pressure
- 4,001–6,000 feet: 13 pounds pressure
- 6,001–8,000 feet: 14 pounds pressure
These are the tested processing recommendations for ground or chopped meat from the National Center for Home Food Preservation.
Always follow the operating instructions supplied with your particular pressure canner as well.
“`htmlHow To Can Ground Beef
A simple pressure-canning method for preserving cooked ground beef for quick pantry meals.
Prep Time: 20 minutes
Cook Time: About 15 minutes plus pressure-canning time
Processing Time: 75 minutes for pints or 90 minutes for quarts
Method: Pressure Canning
Ingredients
- Fresh ground beef
- Boiling beef broth, tomato juice or water
- Canning salt, optional
Equipment
- Pressure canner
- Pint or quart canning jars
- Canning lids and bands
- Canning funnel
- Jar lifter
Instructions
- Prepare your pressure canner and jars according to the manufacturer’s instructions.
- Place the ground beef in a large frying pan or pot and cook until lightly browned, breaking it apart as it cooks.
- Drain away as much excess fat as possible.
- Bring beef broth, tomato juice or water to a boil in a separate saucepan.
- Pack the hot browned beef into hot canning jars.
- Pour the boiling liquid over the beef, leaving 1 inch of headspace.
- Remove trapped air bubbles and adjust the headspace if necessary.
- Wipe the jar rims carefully and apply lids and bands according to the manufacturer’s instructions.
- Place the jars in the pressure canner.
- Process pint jars for 75 minutes or quart jars for 90 minutes.
- Use the correct pressure for your canner type and altitude.
- When processing is complete, turn off the heat and allow the canner to depressurise naturally.
- Remove the jars and allow them to cool undisturbed.
- Check the seals before labelling and storing the jars.
Pressure Guide
Weighted-Gauge Pressure Canner:
- 0–1,000 ft: 10 lb pressure
- Above 1,000 ft: 15 lb pressure
Dial-Gauge Pressure Canner:
- 0–2,000 ft: 11 lb pressure
- 2,001–4,000 ft: 12 lb pressure
- 4,001–6,000 ft: 13 lb pressure
- 6,001–8,000 ft: 14 lb pressure
Important Safety Note
Ground beef is a low-acid food and must be processed in a pressure canner. Do not use a boiling-water bath for canning meat. Always follow current tested pressure-canning guidance and the operating instructions supplied with your pressure canner.
Ways To Use It
Use your canned ground beef for tacos, chilli, pasta sauce, casseroles, shepherd’s pie, nachos, soups, burritos and other quick meals.
Food Safety: Processing times and pressure recommendations are based on tested National Center for Home Food Preservation guidance for ground or chopped meat.
Let The Jars Cool Naturally
When the processing time has finished, turn off the heat.
Do not try to speed up the cooling process.
Allow the pressure canner to depressurise naturally before opening it.
Once it is completely depressurised, carefully remove the lid according to your canner’s instructions and lift the jars out.
Place them somewhere they will not be disturbed and allow them to cool.
Avoid tightening the bands while the jars are cooling.
Check The Seals
After the jars have cooled completely, check that every jar has sealed properly.
Any jar that has not sealed should be refrigerated and used promptly rather than stored on the pantry shelf.
Label sealed jars with the contents and date before putting them away.
Ways To Use Canned Ground Beef
This is where having canned beef becomes incredibly convenient.
You can use it for:
- Tacos
- Burritos
- Shepherd’s pie
- Spaghetti sauce
- Chilli
- Sloppy joes
- Beef casseroles
- Nachos
- Stuffed peppers
- Soups
- Pasta bakes
Because the beef is already cooked, dinner can come together surprisingly quickly.
A Few Important Canning Tips
Never use a water-bath canner for ground beef. Meat requires pressure canning because the temperatures reached by boiling water alone are not sufficient for safely processing low-acid foods.
Do not add flour, cornstarch or other thickeners to the jars unless you are following a specifically tested canning recipe.
Remove excess grease before filling the jars.
Always leave the recommended 1-inch headspace.
Most importantly, use tested pressure-canning instructions rather than changing processing times yourself.
Final Thoughts
Learning how to can ground beef is a useful skill if you like keeping a well-stocked pantry.
The preparation itself is surprisingly straightforward: lightly brown the beef, drain away the fat, pack it into hot jars with boiling liquid and then process it correctly in a pressure canner.
Once you have a few jars stored away, you have the beginnings of dozens of quick meals ready whenever you need them.
Just remember that meat preservation is one area where following tested pressure-canning instructions exactly really matters. The National Center for Home Food Preservation recommends processing ground meat for 75 minutes in pint jars or 90 minutes in quart jars, with pressure adjusted for altitude and canner type.