

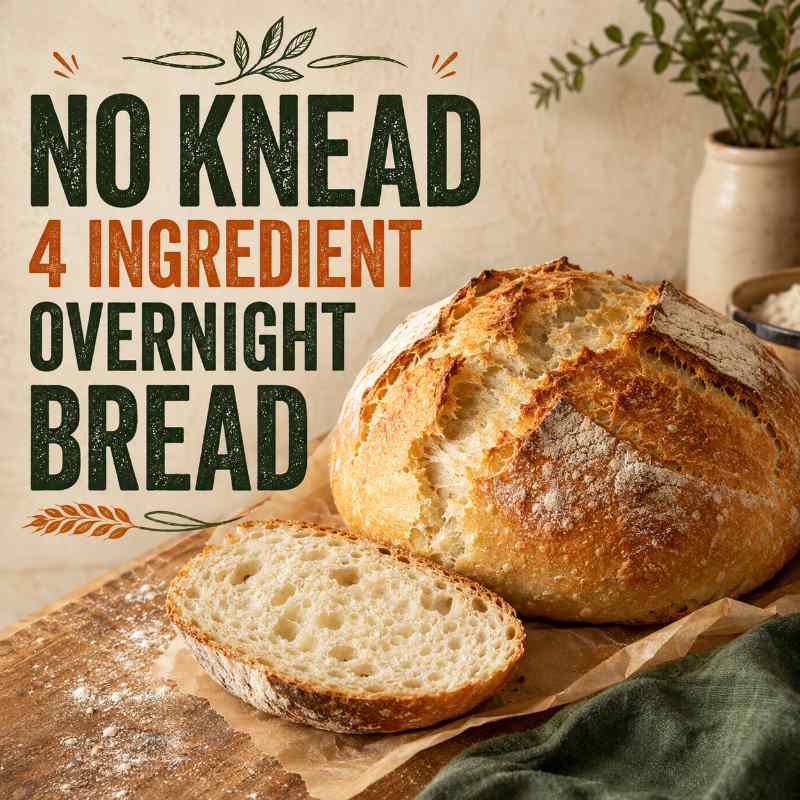
No Knead 4 Ingredient Overnight Bread Anyone Can Make
Make sure to like Living Green and Frugally on Facebook, Shop at amazon to help support my site and explore our PINTEREST BOARDS for innovative ways you can become self-sufficient.
Imagine mixing four basic ingredients before bed and waking up to dough that is ready to become a beautiful, crusty loaf. This No Knead 4 Ingredient Overnight Bread requires no mixer, no complicated shaping and no tiring kneading. Flour, water, yeast and salt do nearly all the work while you sleep.
The recipe produces a rustic loaf with a crisp golden crust and a soft, pleasantly chewy centre. It is an excellent starting point for beginners because the dough is meant to look sticky and untidy. You do not need to make it perfectly smooth.
Mix the dough in the evening, leave it covered for 12 to 18 hours, shape it gently and bake it the following day. Most of the preparation is completely hands-off, making this one of the easiest ways to enjoy fresh homemade bread.
Why This Overnight Bread Works
Kneading normally helps develop the gluten structure that allows bread dough to hold its shape and trap gas. In this recipe, a long resting time allows that structure to form gradually with very little effort from you.
The small amount of yeast is intentional. Because the dough rises for many hours, it does not need a full packet. The slow rise also gives the finished bread a fuller flavour than a loaf that is rushed through a short proving time.
Baking the dough inside a covered Dutch oven or similarly suitable lidded pot traps steam around it. This delays the formation of the crust, allowing the loaf to expand before developing its crisp, deeply coloured exterior.
The Four Ingredients You Need
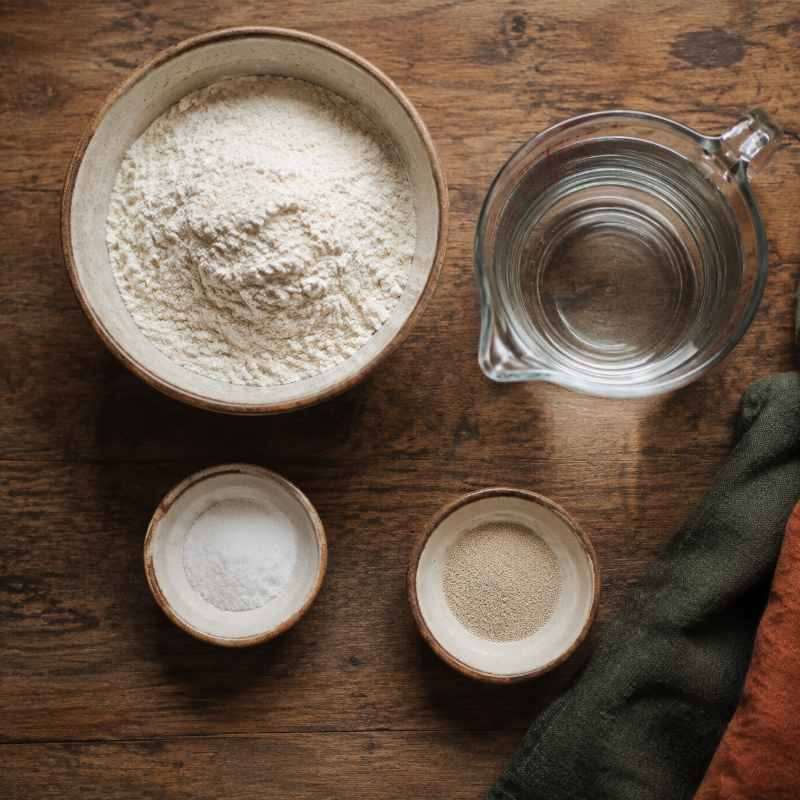
- 3 cups (375g) bread flour or plain all-purpose flour: Bread flour gives the loaf a slightly chewier texture, but ordinary flour works well too.
- 1½ teaspoons fine salt: Salt provides flavour and helps control the slow fermentation.
- ½ teaspoon instant yeast: Check that your yeast is within its use-by date before beginning.
- 1½ cups (355ml) lukewarm water: Use room-temperature or slightly warm water, not hot water.
Equipment for the Best Results
You will need a large mixing bowl, a sturdy spoon or dough whisk, a clean cover for the bowl, parchment paper and a cooling rack. A flexible dough scraper is useful for handling the sticky dough but is not essential.
For baking, use a Dutch oven or another heavy, oven-safe pot with an oven-safe lid. A pot measuring roughly 4 to 6 quarts is suitable. Always check the manufacturer’s maximum temperature, including the temperature limit of its lid and handle.
How to Make No Knead Overnight Bread
1. Combine the Dry Ingredients
Place the flour, salt and instant yeast in a large bowl. Stir them together thoroughly so the small quantity of yeast is distributed evenly through the flour.
2. Add the Water
Pour in the lukewarm water and mix until no large patches of dry flour remain. The mixture should be wet, sticky and rough-looking. This is normal, so resist the temptation to add extra flour until it resembles conventional kneaded dough.
3. Leave the Dough Overnight
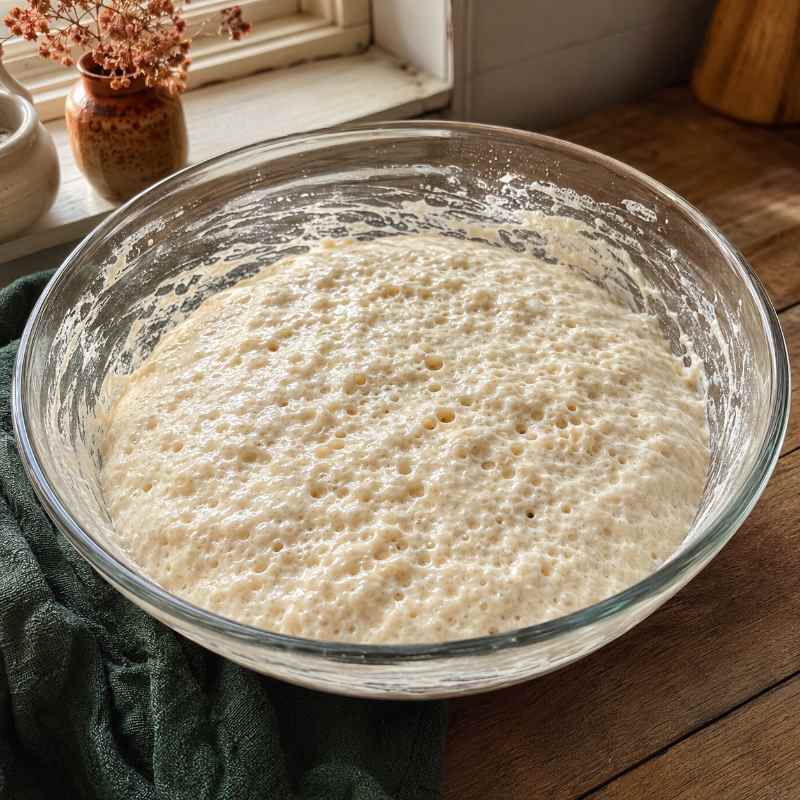
Cover the bowl with a lid, reusable bowl cover or plastic wrap. Leave it at normal room temperature for 12 to 18 hours. By morning, the dough should have expanded and developed plenty of bubbles across its surface.
A very warm kitchen will make the dough ferment more quickly. If it looks fully risen after 10 to 12 hours, continue with the recipe rather than waiting until it collapses.
4. Shape and Rest the Dough
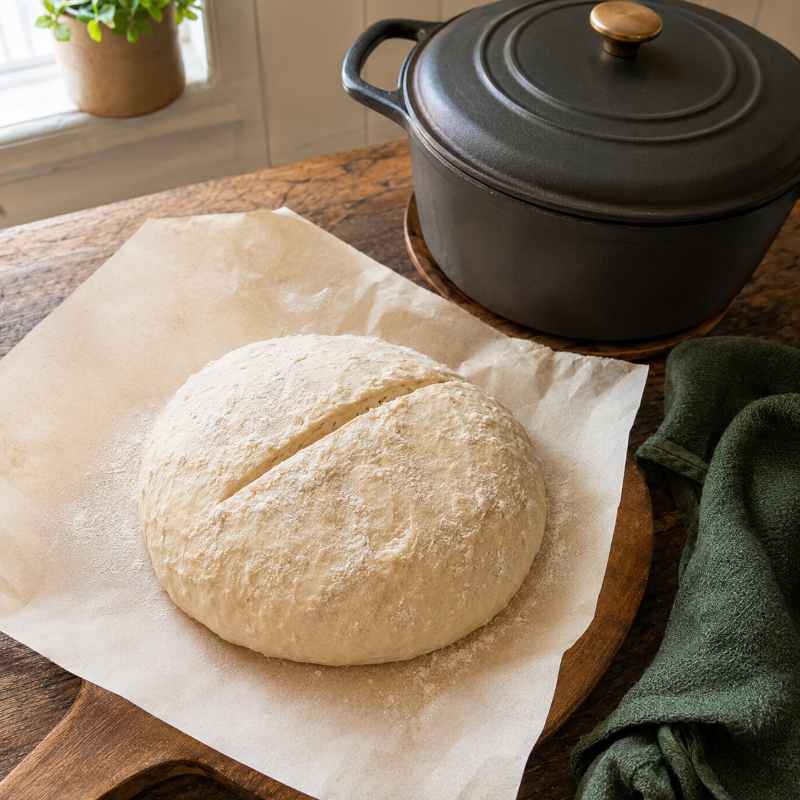
Lightly flour the worktop and your hands. Scrape out the dough, then gently fold its edges towards the centre several times. Turn it over so the smoother side faces upwards and form it into a loose round without pressing out all the air.
Place the dough on parchment paper and cover it loosely. Allow it to rest for 30 to 45 minutes while the oven and pot heat.
5. Bake the Loaf
Place the empty Dutch oven and its lid in the oven, then preheat to 450°F or 230°C for approximately 30 minutes. Carefully lift the dough into the hot pot using the parchment paper. If desired, make one shallow cut across the top with a very sharp knife.
Cover and bake for 30 minutes. Remove the lid and bake for another 10 to 15 minutes, until the crust is a rich golden brown. Transfer the loaf to a rack and let it cool for at least one hour before slicing.
How to Tell When the Bread Is Ready
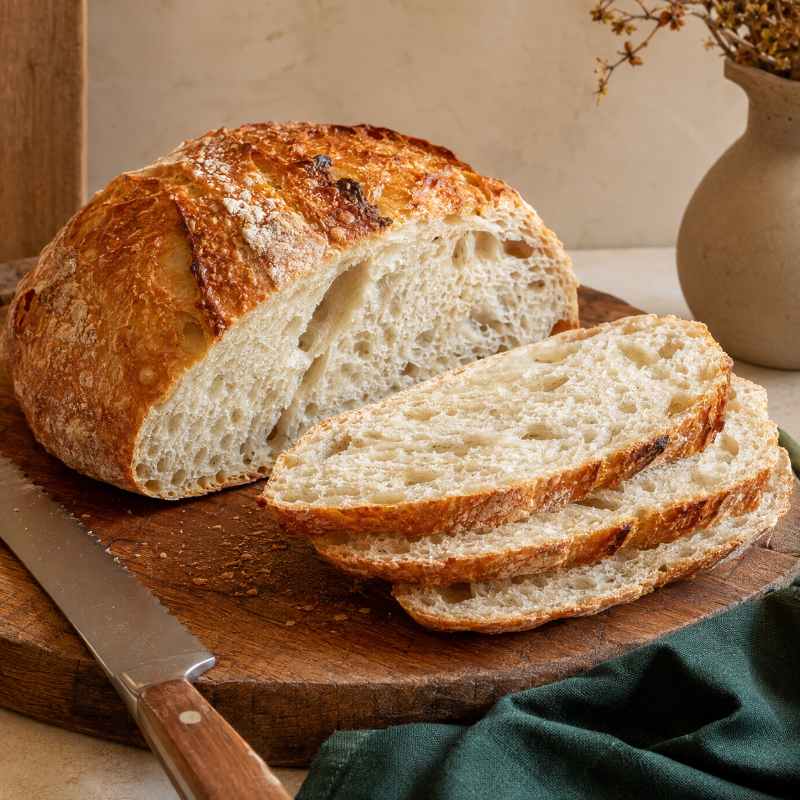
The finished loaf should have a firm, well-coloured crust. If you carefully tap the bottom, it should sound hollow rather than dense and dull. An instant-read thermometer inserted into the centre should register approximately 200°F to 210°F, or 93°C to 99°C.
Cooling is part of the baking process. Cutting the loaf while it is very hot can compress its centre and make the crumb appear sticky or underbaked. Waiting for an hour gives the moisture inside time to settle.
If you enjoy simple homemade loaves, you may also want to try the easy artisan bread recipe or make a batch of light and fluffy einkorn dinner rolls for a softer option.
Serving and Storing Your Loaf
This bread is delicious while fresh, served with soup, stew, cheese or your favourite spread. For a sweet and fruity topping, try a spoonful of homemade monkey butter. Day-old slices are excellent toasted or used for grilled sandwiches.
Once completely cool, keep the loaf cut-side down on a board for the first day if you want to preserve its crisp crust. For longer storage, place it in a bread bag or sealed container at room temperature and use it within two to three days.
To freeze it, slice the cooled loaf and place parchment paper between the slices if desired. Freeze in a well-sealed freezer bag for up to three months. Individual slices can be toasted directly from frozen.
Common No Knead Bread Mistakes
Adding Too Much Flour
The dough is supposed to be sticky. Adding a large amount of flour during mixing or shaping may produce a dry, heavy loaf. Flour your hands and worktop lightly, then use a scraper to make handling easier.
Using Water That Is Too Hot
Very hot water can damage the yeast. Room-temperature or slightly warm water is all that is required because the dough has many hours to rise.
Allowing the Dough to Over-Rise
If the dough rises and then sinks dramatically, it may have fermented for too long. Shorten the resting time during warm weather or use slightly cooler water. A ready dough looks expanded, bubbly and lively.
Skipping the Preheated Pot
A properly heated pot helps the dough expand quickly and encourages a crisp crust. Putting the dough into a cold pot can produce a paler loaf with less oven spring.
Slicing the Bread Too Soon
Fresh bread smells irresistible, but slicing it immediately can leave the inside gummy. Move it to a cooling rack and wait until the loaf is no longer hot.
Simple Ways to Change the Recipe
Make the basic loaf successfully at least once before experimenting. You can then add a tablespoon of chopped rosemary, a small handful of seeds or some cracked black pepper. These additions will take the loaf beyond four ingredients, but the basic method remains the same.
Avoid adding large quantities of wet ingredients because they can change the dough structure. Drain olives thoroughly, dry roasted vegetables and keep cheese additions modest. For a loaf designed around savoury additions, follow the olive, bacon and cheese bread recipe instead.
Replacing a small portion of the white flour with wholemeal flour can add flavour, but wholemeal flour absorbs water differently. Begin by replacing no more than one quarter of the flour and adjust future loaves after seeing the result.
Frequently Asked Questions
Can I use active dry yeast instead of instant yeast?
Yes. Dissolve the active dry yeast in the measured lukewarm water for 5 to 10 minutes before adding it to the dry ingredients. Use the same quantity and continue with the overnight rise.
Can I leave the dough longer than 18 hours?
It is better to avoid leaving it at room temperature much longer, especially in a warm kitchen. If your plans change, refrigerate the risen dough to slow it down, then bring it out, shape it and allow a little extra time for the final rest.
What if I do not own a Dutch oven?
You can bake the loaf on a preheated baking tray, although the crust and shape may differ. Place an oven-safe pan on a lower shelf and carefully add hot water when the bread goes into the oven to create steam. Keep your face and hands away from the rising steam. You could also explore baking bread on the stovetop when a conventional oven is unavailable.
Why did my bread turn out flat?
Common causes include expired yeast, over-fermented dough, excessive water caused by inaccurate flour measurement or rough handling during shaping. Weighing the ingredients and watching the dough rather than relying only on the clock can help.
Can I make this bread with wholemeal flour?
You can replace part of the white flour with wholemeal flour. A loaf made entirely with wholemeal flour will usually be denser and may need a different amount of water, so it is best to begin with a partial substitution.
Why is my dough so sticky?
A wet, sticky dough helps produce the loaf’s open texture and is completely normal. Use lightly floured hands, parchment paper and a dough scraper rather than trying to make it feel like firm kneaded dough.
Can I prepare the dough in the morning instead?
Yes. Mix it early in the morning and bake it that evening once it is bubbly and well risen. The name describes the convenient schedule, but the dough does not have to rise specifically at night.
A Simple Loaf Worth Making Again
This No Knead 4 Ingredient Overnight Bread proves that homemade bread does not have to involve expensive equipment or complicated techniques. A quick evening mix and a long, quiet rise can produce a loaf with a crisp crust, tender centre and genuine rustic character.
Expect the dough to be sticky, give it enough time to rise and let the finished loaf cool properly. Once you become comfortable with the basic method, it is an easy recipe to fit around your day and one you can confidently make again whenever fresh bread sounds good.