

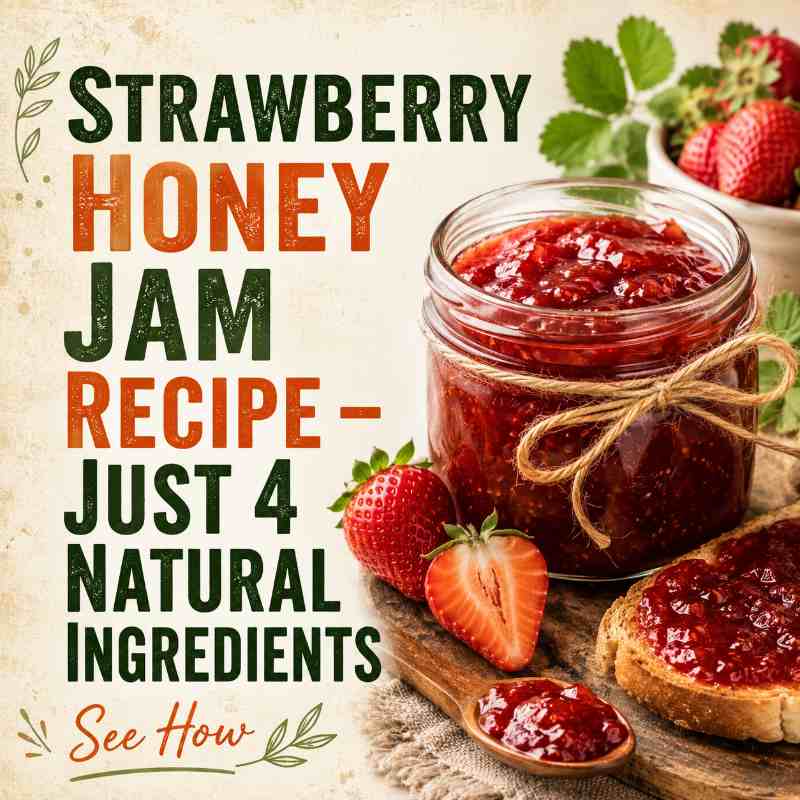
Strawberry Honey Jam Recipe – Just 4 Natural Ingredients
Make sure to like Living Green and Frugally on Facebook, Shop at Amazon to help support my site and explore our PINTEREST BOARDS for innovative ways you can become self-sufficient.
There are principles of canning, and they need to be carefully followed to ensure quality preservation of the food and safety for those who’ll eat it. (Note: the Ball Complete Book of Home Preservingis a great book for anyone embarking upon a canning adventure. Their recipes are basic and straightforward, and have always worked for me.)
Why You Should Be Making Your Own Jam
Homemade jam is a delightful way to enjoy the pure, natural taste of fresh fruit all year round. Making your own jam allows you to control the ingredients, ensuring a healthier and more wholesome product compared to many commercial alternatives. Here are some compelling reasons to start making your own jam:
1. Health Benefits
- No Preservatives: Store-bought jams often contain preservatives and artificial additives to prolong shelf life. Homemade jam relies on natural preservation methods, making it a healthier option.
- Reduced Sugar: Commercial jams can be high in refined sugars, which can contribute to various health issues. Making your own jam allows you to use natural sweeteners like honey, reducing the overall sugar content.
- Nutrient-Rich: Freshly made jam retains more of the natural vitamins and minerals found in the fruit, especially when using minimal processing techniques.
2. Quality Control
- Ingredient Transparency: When you make jam at home, you know exactly what goes into it. This is particularly beneficial for people with allergies or dietary restrictions.
- Better Taste: Homemade jam often tastes fresher and more vibrant than store-bought varieties, which can sometimes taste artificial or overly sweetened.
3. Cost-Effective
- Economical: Making jam can be a cost-effective way to preserve fruit, especially if you buy in bulk or use homegrown produce.
- Reduced Waste: It’s a great way to use up surplus or slightly overripe fruit, reducing food waste.
What’s in Commercial Jams?
Commercial jams are designed to have a long shelf life and consistent flavor. However, this often comes at the expense of natural ingredients. Here’s a look at some common components found in store-bought jams:
- High Fructose Corn Syrup (HFCS): A cheap sweetener linked to various health issues, including obesity and diabetes.
- Artificial Preservatives: Chemicals like sodium benzoate or potassium sorbate extend shelf life but can be harmful in large quantities.
- Artificial Colors and Flavors: These additives enhance appearance and taste but offer no nutritional value and may have adverse health effects.
- Pectin: While pectin itself is natural, commercial pectins often contain additives.
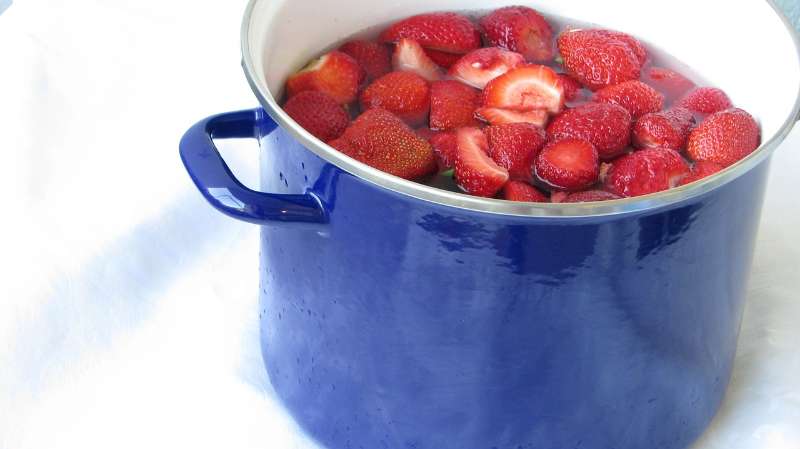
Recipe: Strawberry Honey Jam
Creating your own strawberry honey jam is simple and rewarding. With just four natural ingredients, you can make a delicious, healthy jam that preserves the essence of fresh strawberries.
Ingredients
- Strawberries: 4 cups, hulled and chopped
- Honey: 1 cup
- Lemon Juice: 2 tablespoons (freshly squeezed)
- Chia Seeds (optional): 2 tablespoons (helps thicken the jam naturally and adds fiber)
Instructions
- Prepare the Strawberries:
- Wash the strawberries thoroughly.
- Hull and chop them into small pieces.
- Cook the Strawberries:
- Place the chopped strawberries in a large saucepan over medium heat.
- Stir frequently, mashing the strawberries with a spoon or potato masher as they cook.
- Cook until the strawberries release their juices and start to break down (about 10-15 minutes).
- Add Honey and Lemon Juice:
- Stir in the honey and lemon juice.
- Continue to cook for another 10 minutes, stirring frequently.
- Thicken the Jam:
- If using chia seeds, add them to the mixture.
- Continue to simmer for another 5-10 minutes until the jam thickens to your desired consistency. The chia seeds will absorb some of the liquid and help thicken the jam naturally.
- Test for Doneness:
- To test if the jam is ready, place a small spoonful on a chilled plate. If it wrinkles slightly when pushed with your finger, it’s done. If not, continue cooking for a few more minutes and test again.
- To test if the jam is ready, place a small spoonful on a chilled plate. If it wrinkles slightly when pushed with your finger, it’s done. If not, continue cooking for a few more minutes and test again.
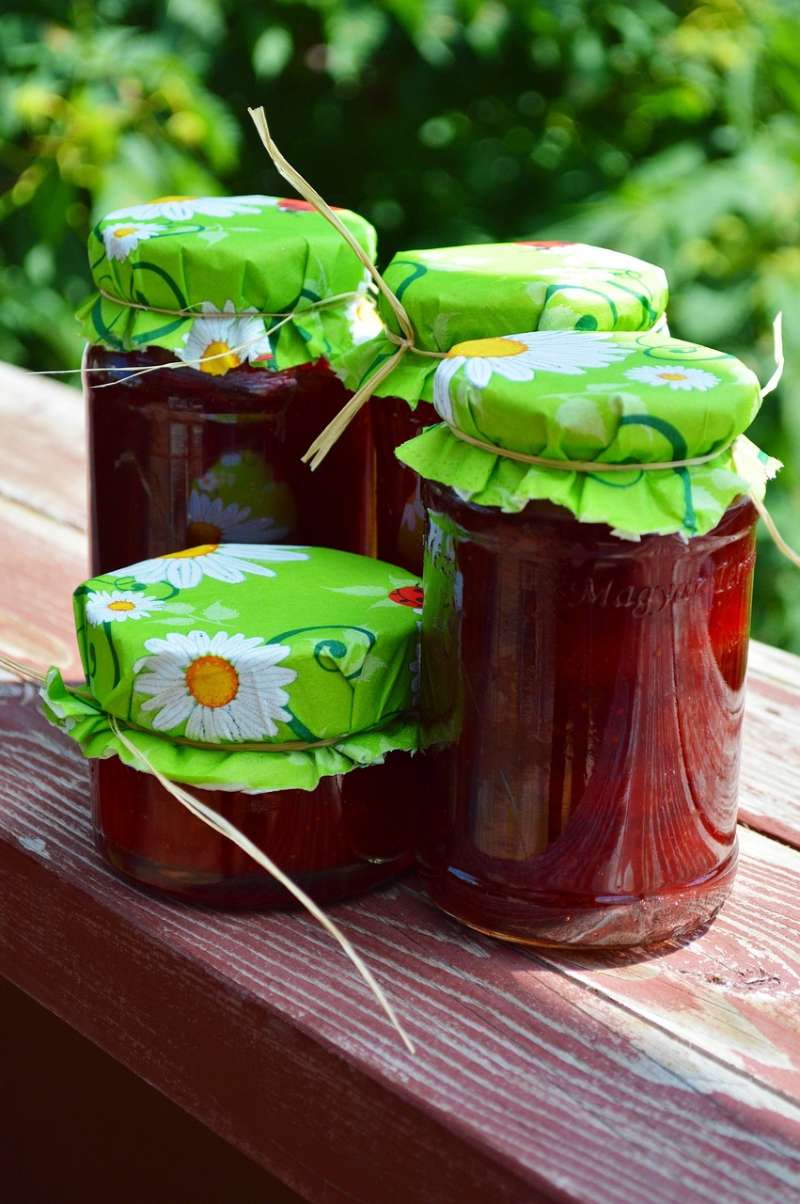
SIMPLE HOMEMADE FRUIT SPREAD
Strawberry Honey Jam
A simple homemade strawberry jam made with fresh strawberries, honey and lemon juice. Add chia seeds for a naturally thicker texture.
Ingredients
- 4 cups strawberries, hulled and chopped
- 1 cup honey
- 2 tablespoons freshly squeezed lemon juice
- 2 tablespoons chia seeds, optional
Instructions
- Prepare the Strawberries. Wash the strawberries thoroughly, remove the green tops and chop the berries into small pieces.
-
Cook the Strawberries.
Place the chopped strawberries in a large saucepan over medium heat.
Cook for approximately 10 to 15 minutes, stirring frequently. As the berries soften, mash them with a spoon or potato masher until they reach your preferred texture. -
Add the Honey and Lemon.
Stir in the honey and freshly squeezed lemon juice.
Continue cooking for approximately 10 minutes, stirring regularly to prevent the mixture from sticking to the bottom of the saucepan. -
Add the Chia Seeds.
If using chia seeds, stir them into the strawberry mixture.
Continue to simmer for another 5 to 10 minutes. The chia seeds will absorb some of the liquid and help the jam thicken as it cools. -
Check the Consistency.
Spoon a small amount of jam onto a chilled plate and allow it to cool briefly.
Push the jam gently with your finger. If it holds its shape and has thickened to your liking, remove the saucepan from the heat. - Cool the Jam. Allow the jam to cool slightly in the saucepan. Remember that it will continue to thicken as it cools, particularly if chia seeds have been added.
- Transfer to a Jar. Spoon the cooled jam into a clean glass jar or airtight container.
- Refrigerate. Cover and store the finished strawberry honey jam in the refrigerator.
- Remove the jam from heat and let it cool for a few minutes.
- Pour the jam into sterilized jars, leaving about 1/4 inch of headspace.
- Seal the jars with lids and let them cool to room temperature.
- Store the jam in the refrigerator for up to 3 weeks or process in a water bath for longer shelf life.
Conclusion
Making your own strawberry honey jam is a fulfilling process that results in a healthier, tastier product free from artificial additives and excessive sugars. By using just four natural ingredients, you can enjoy the vibrant flavor of strawberries all year long, knowing exactly what’s in your food. So why not give it a try? Your taste buds and your body will thank you.