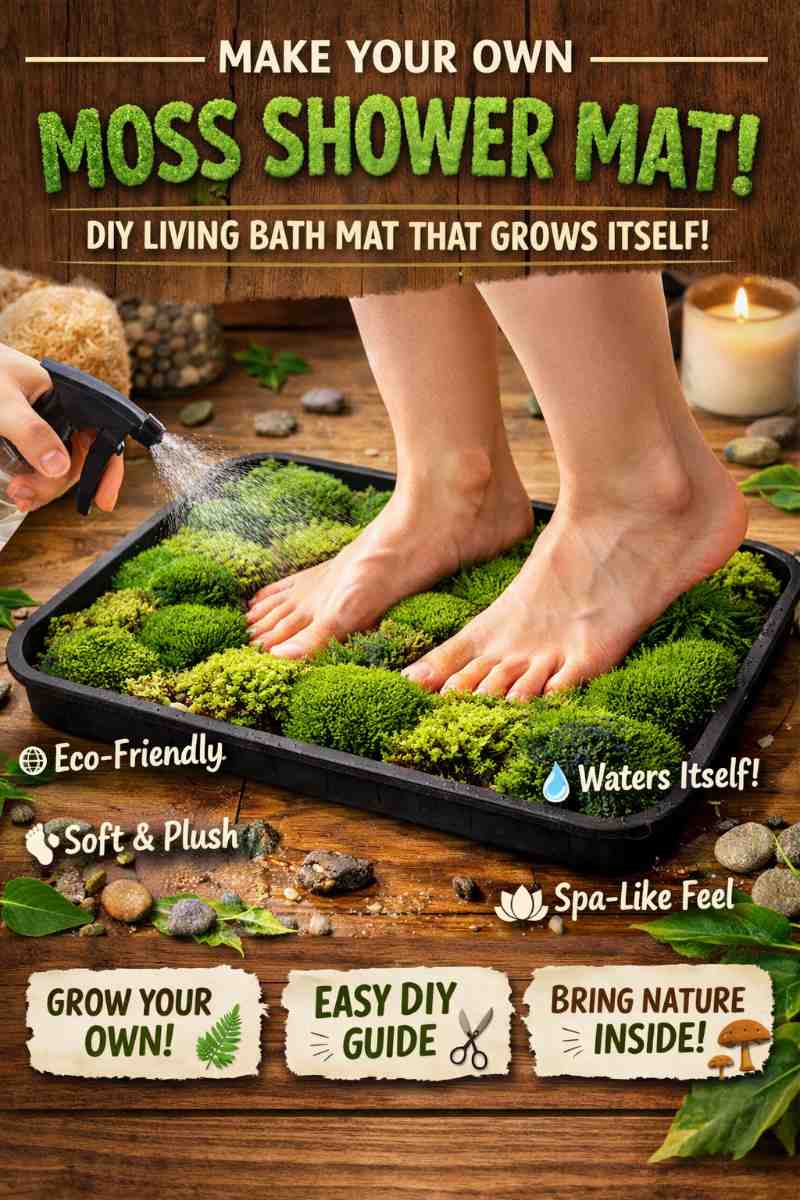
Make Your Own Moss Shower Mat: DIY Living Bath Mat That Grows Itself
Make sure to like Living Green and Frugally on Facebook, Shop at amazon to help support my site and explore our PINTEREST BOARDS for innovative ways you can become self-sufficient.
🌿 Make Your Own Moss Shower Mat! (A Living, Breathing Bathroom Upgrade)
Imagine stepping out of your shower onto a soft, lush bed of living moss instead of a cold, soggy bath mat. Sounds like something straight out of a spa in the mountains, right? 🌄 Well, here’s the twist… you can actually make one yourself at home!
A moss shower mat isn’t just a quirky DIY project—it’s a functional, eco-friendly, and surprisingly low-maintenance addition to your bathroom. It absorbs moisture, feels amazing under your feet, and brings a calming, natural vibe into your daily routine.
If you’re looking for a viral-worthy project that blends creativity, sustainability, and practicality… this is it. Let’s dive in 👇
🌱 What Is a Moss Shower Mat?
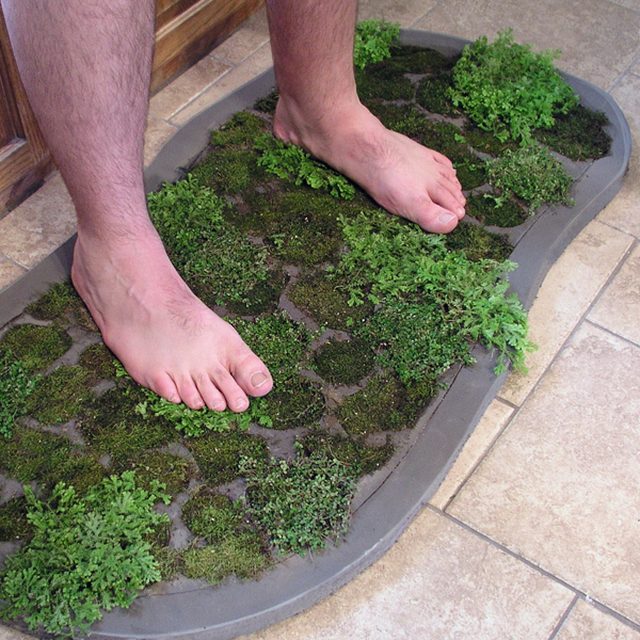
A moss shower mat is exactly what it sounds like—a bath mat made with real, living moss planted into a base that allows water drainage. The moss thrives on the moisture from your feet after a shower, meaning it practically waters itself.
Yes, it’s alive. Yes, it works. And yes, people will ask about it. 😄
🛠️ How To Make Your Own Moss Shower Mat
🧰 What You’ll Need:
- A waterproof tray or shallow container (plastic or rubber works best)
- Foam or sponge base (to hold moisture)
- Different types of moss (sheet moss, cushion moss, forest moss)
- Mesh or perforated liner (for drainage)
- Scissors or craft knife
- Waterproof adhesive (optional)
🔨 Step-by-Step Instructions:
1. Prepare Your Base
Choose a tray that’s large enough for both feet. Drill small drainage holes if it doesn’t already have them. This prevents water from pooling and keeps the moss healthy.
2. Add the Moisture Layer
Place a layer of foam or sponge inside the tray. This acts as a water reservoir to keep your moss hydrated.
3. Cut and Arrange the Moss
Trim your moss into small sections and press them gently into the foam. Mix different types for texture and visual appeal 🌿
4. Secure the Moss (Optional)
If needed, use a bit of waterproof adhesive to hold pieces in place—but usually, they settle naturally over time.
5. Let It Settle
Mist lightly with water and let the mat sit for 24–48 hours before use. This helps the moss adjust and root into the base.
💡 Why You NEED a Moss Shower Mat
Let’s be honest—regular bath mats get gross fast. 😬 But this? Total game changer.
✅ Natural Moisture Control
Moss thrives in damp environments, meaning it absorbs water effortlessly.
✅ Self-Maintaining
Every time you step on it after a shower, you’re watering it. No extra effort needed!
✅ Eco-Friendly Living
No synthetic fibres, no washing machine cycles—just pure, sustainable design 🌍
✅ Spa-Like Comfort
It feels soft, cool, and slightly springy underfoot—like walking through a forest.
✅ Conversation Starter
This is one of those things guests will notice instantly:
“Wait… is that REAL moss?!” 😲
🌟 Pro Tips for the Best Results
- Choose the right moss: Look for varieties that love humidity (forest moss works great).
- Avoid direct sunlight: Moss prefers indirect light and shade.
- Mist occasionally: If your bathroom is dry, give it a light spray now and then.
- Rotate sections: If one area gets more foot traffic, rotate pieces to keep growth even.
- Keep airflow in mind: Good ventilation prevents mould and keeps everything fresh.
⚠️ Common Mistakes to Avoid
❌ Using the wrong container (no drainage = soggy mess)
❌ Letting it dry out completely
❌ Placing it in direct sunlight
❌ Overhandling the moss before it settles
❓ Frequently Asked Questions
🤔 Is it hygienic?
Yes! Moss naturally filters water and doesn’t harbour bacteria like traditional mats—just ensure proper drainage and airflow.
🧼 Do I need to clean it?
Not in the traditional sense. Remove debris occasionally and rinse lightly if needed.
⏳ How long does it last?
With proper care, your moss mat can last months or even years. It may even grow and fill in over time!
🏠 Can I use it in any bathroom?
It works best in humid bathrooms. If your space is dry, just mist it occasionally to keep it happy.
🐾 Is it pet-safe?
Generally yes, but curious pets might try to nibble it—so keep an eye on them.
🌿 Final Thoughts
This isn’t just a DIY project—it’s a tiny ecosystem in your home. A moss shower mat brings together sustainability, creativity, and everyday comfort in a way that few other projects can.
It’s simple enough to make in an afternoon… but unique enough to feel like something straight out of a designer home.
If you’re tired of boring bathroom accessories and want something that truly stands out, this is your sign to give it a go.