

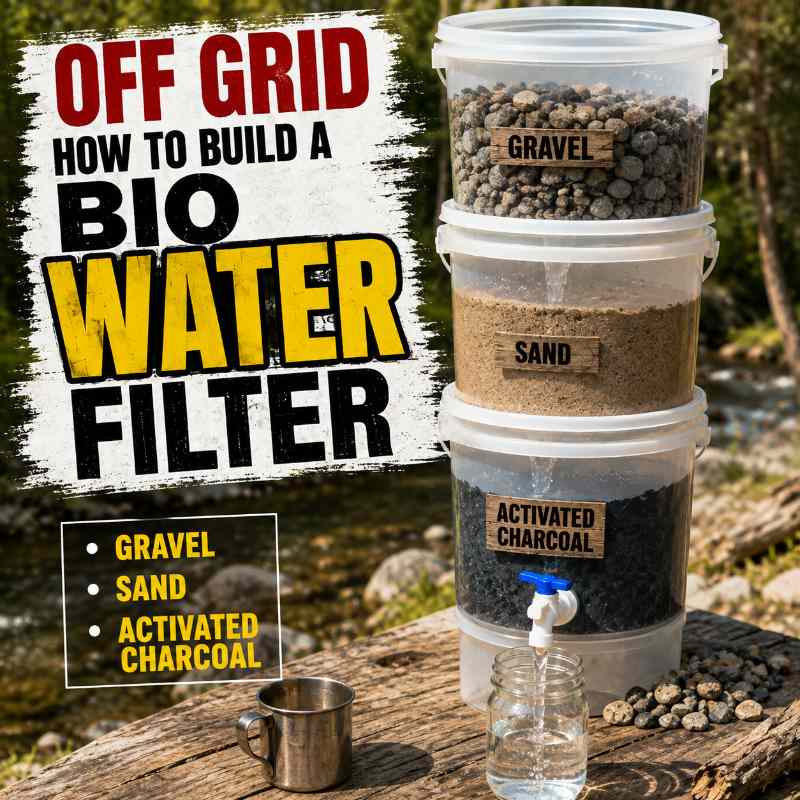
Off Grid – How To Build A Bio Water Filter
Make sure to like Living Green and Frugally on Facebook, Shop at Amazon to help support my site and explore our PINTEREST BOARDS for innovative ways you can become self-sufficient.
Clean water is one of those things most of us never really think about until the tap stops working.
A power outage, storm, contaminated water supply, camping trip or longer-term emergency can quickly make a reliable way of filtering water incredibly useful.
The good news is that you don’t necessarily need to spend hundreds of dollars on a large stainless-steel gravity filtration system.
The simple DIY setup shown in the video below uses two food-grade buckets, a tap and gravity-fed ceramic filter elements to create a portable off-grid water filtration system for a fraction of the cost of many commercial systems.
According to the original build, the bucket system itself cost around $35 in parts, while the pair of filters used cost around $95, bringing the complete setup to roughly $130 at the time the video was made.
Prices will obviously vary today, but the basic idea remains incredibly simple.
No electricity. No pump. Just gravity.
How Does a Gravity Water Filter Work?
The system is made from two food-grade buckets stacked on top of each other.
The upper bucket holds the unfiltered water.
Ceramic filter elements are installed through holes drilled into the bottom of this bucket. Water slowly passes through the filters before dripping into the lower bucket.
The bottom bucket becomes the clean-water reservoir and has a small spigot fitted near the bottom so water can be poured without having to remove the buckets.
It is basically the same principle used by many expensive countertop gravity filters, only the decorative stainless-steel containers have been replaced with inexpensive food-grade buckets.
What You’ll Need
For a basic two-filter system you will need:
- 2 food-grade plastic buckets
- Food-grade bucket lids
- 2 compatible gravity water filter elements
- Food-safe spigot or brewing tap
- Rubber washers and fittings supplied with the filters
- Drill
- Correct-sized drill bits or hole saw
- Measuring tape
- Marker
- Clean cloth
The filters shown in the original project used ceramic filtration with activated charcoal and silver incorporated into the filter media.
The filter elements are the most important part of the entire project.
Do not simply buy the cheapest candle filter you can find.
Check exactly what the manufacturer says the filter has been independently tested or certified to reduce. Different filters can have dramatically different capabilities.
Watch The DIY Gravity Water Filter Being Built
The video below shows the complete homemade gravity water filtration system being assembled using food-grade buckets and ceramic, charcoal and silver-impregnated filter elements.
Step 1: Prepare the Buckets
Start with two completely clean food-grade buckets.
Do not use old buckets that previously contained paint, chemicals, pesticides, cleaners or anything else that could contaminate drinking water.
One bucket will become the upper filtration chamber and the other will become your lower storage chamber.
Wash and rinse everything thoroughly before assembling the system.
Step 2: Install the Spigot
Take the bucket that will become the bottom clean-water chamber.
Mark a position a short distance above the bottom of the bucket.
You want the tap low enough that you can use most of the stored water, but not so low that the fitting interferes with the base of the bucket.
Carefully drill the required hole.
Install the food-grade spigot using the supplied rubber washers and retaining nut.
Tighten it enough to create a watertight seal, but avoid overtightening plastic fittings because you can damage the bucket or washer.
Add a small amount of clean water and check for leaks before continuing.
Step 3: Drill Holes for the Filters
Now take your upper bucket.
Your particular filter manufacturer should specify the diameter of the mounting hole required.
Measure where your two filter elements will sit and mark the positions.
Leave enough room between them so they don’t touch each other or the sides of the bucket.
Carefully drill both holes.
Clean away every piece of plastic left behind from drilling before installing the filters.
Step 4: Install the Ceramic Filter Elements
Insert each filter through the bottom of the upper bucket according to the manufacturer’s instructions.
Most gravity filter elements use a threaded stem together with a rubber washer and retaining nut.
Make sure the washers sit flat against the bucket.
The filters should be securely mounted without being excessively tightened.
Ceramic filters can be damaged if they are dropped, knocked or handled roughly, so take your time during this part of the build.
Step 5: Stack the Two Buckets
The upper bucket now sits above the clean-water bucket.
The threaded outlet from each filter allows filtered water to drip directly into the chamber below.
Place a lid over the upper bucket as well.
Keeping the system covered helps prevent dust, insects and other contaminants from falling into your water.
You now have a completely gravity-powered filtration system.
Step 6: Prime and Test the System
Before relying on the filter for drinking water, follow the filter manufacturer’s instructions for priming, flushing and initial use.
New carbon-containing filters may need flushing before the water tastes normal.
Fill the upper bucket with known safe water first and allow it to filter through.
Check around:
- Both filter mounting points
- The bucket connection
- The spigot
- Rubber washers
- Plastic fittings
There should be no water bypassing the filter elements.
Why Use Two Filters?
You can build some gravity systems using a single filter, but using multiple filter elements normally increases the amount of water that can pass through the system.
Gravity filtration isn’t particularly fast.
That is actually why having a large upper reservoir works so well.
Fill it and allow gravity to quietly do the work while you get on with something else.
The original video estimated the operating cost of the system at roughly 2 cents per gallon, based on the filters and their expected service life at the time.
Your real cost will depend entirely on the filter elements you buy, replacement intervals and how much water you put through them.
Great for Off-Grid and Emergency Preparedness
One of the biggest advantages of this design is that it requires no electricity whatsoever.
That makes it useful for:
- Power outages
- Emergency preparedness
- Off-grid cabins
- Camping
- RV use
- Homesteads
- Backup household water filtration
- Disaster preparation
It is also portable.
Empty the buckets, separate them and you have a relatively lightweight system that can be moved or stored until needed.
If you are preparing for longer emergencies, combine a filtration system like this with a proper stored-water supply. Our guide How To Store Drinking Water Long Term Survival explains how to build a more complete emergency reserve.
Another useful backup method is learning How to Make a Solar Still, especially if you’re interested in completely off-grid water systems.
IMPORTANT: Filtration Is Not Always Purification
This is probably the most important part of the entire project.
Do not assume that water looks safe just because it has passed through a filter.
Different filter elements remove different contaminants.
According to the CDC, portable filtration systems do not automatically remove every type of microorganism. Filter pore size and certification matter, and many filters are not capable of reliably removing viruses. The CDC recommends boiling as the preferred method for killing germs in questionable emergency water, or filtering followed by appropriate disinfection when boiling isn’t practical.
If you’re using river, lake, floodwater, rainwater or another unknown source during an emergency, follow current public-health advice and the instructions supplied with your particular filter.
Never try to make water containing fuel, poisonous chemicals, radioactive contamination or other hazardous chemicals drinkable simply by filtering, boiling or adding bleach. The CDC and EPA both warn that these methods cannot make chemically contaminated water safe.
For a larger non-potable rainwater setup, you may also want to look at How To Build A DIY Water Treatment Train, which uses several treatment stages to clean collected rainwater for homestead uses.
Don’t Forget Filter Maintenance
Once you’ve built the system, maintenance becomes just as important as construction.
Follow the filter manufacturer’s instructions regarding:
- Cleaning
- Priming
- Maximum lifespan
- Gallon capacity
- Replacement intervals
- Storage
- Freezing temperatures
Be particularly careful with wet ceramic elements in freezing conditions.
A cracked element could allow water to bypass the filtration media.
If you’re storing the unit as part of an emergency kit, keep the manufacturer’s instructions with it. You don’t want to be searching for instructions during an actual emergency.
Common Mistakes to Avoid
Using Non-Food-Grade Containers
Only use containers suitable for drinking water.
Buying Filters Without Checking Their Specifications
The bucket doesn’t clean the water.
The filter element does all the important work.
Know exactly what yours is designed to reduce.
Overtightening the Filters
Cracking the ceramic or damaging a washer can create leaks or allow untreated water through.
Assuming Clear Water Means Safe Water
Microorganisms and chemicals can be completely invisible.
Neglecting the Clean-Water Bucket
Keep hands, cups and untreated water away from the inside of your lower bucket and spigot.
Once the water has been filtered, you don’t want to contaminate it again.
Frequently Asked Questions
Can you really make a gravity water filter from two buckets?
Yes. The buckets simply provide the upper and lower chambers. Properly designed gravity filter elements do the actual filtration.
Does it need electricity?
No. Water moves through the filters entirely through gravity.
How much does it cost?
The original build described in the video cost approximately $35 for the bucket system plus around $95 for a pair of filters, or roughly $130 total. Treat those figures as an example rather than today’s guaranteed price.
Can I use ordinary buckets?
Use containers specifically intended for food or potable-water use whenever water will be consumed.
Does a ceramic filter make river water safe?
Not automatically.
Different ceramic filters have different ratings and capabilities. Check the manufacturer’s specifications and certification. For questionable emergency water, filtration may need to be combined with boiling or an appropriate disinfection method.
Can this be used every day?
Potentially, yes, provided the materials and filters are intended for drinking water and you follow the manufacturer’s maintenance and replacement instructions.
Final Thoughts
For such a simple project, this DIY off-grid gravity water filter is a clever piece of emergency equipment.
Two buckets, a tap and good-quality gravity filter elements can give you a large-capacity system without pumps, electricity or an expensive stainless-steel housing.
It could be useful at home, at an off-grid cabin or stored away as part of your emergency supplies.
Just remember that the quality and capabilities of the actual filter elements matter far more than the buckets surrounding them.
Build the container carefully, buy filters suitable for your intended water source and always treat questionable emergency water according to proper public-health guidance.
Sometimes the simplest preparedness projects are the ones that make the most sense.