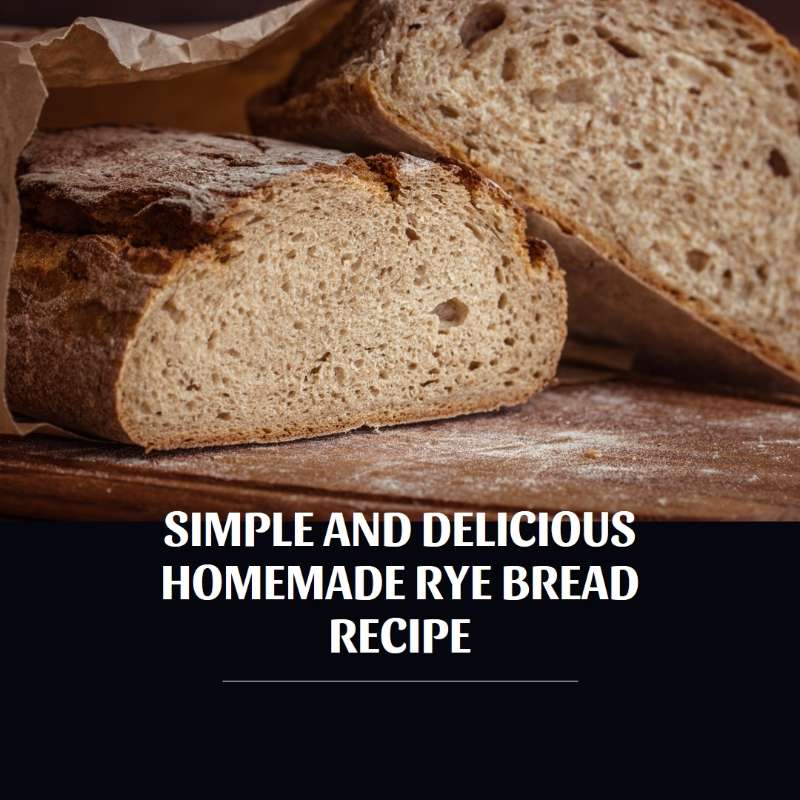
Homemade Rye bread (extremely simple and delicious)

Make sure to like Living Green and Frugally on Facebook, Shop at Amazon to help support my site and explore our PINTEREST BOARDS for innovative ways you can become self-sufficient.
There’s something undeniably comforting about the aroma of freshly baked bread wafting through a home. Among the myriad of bread varieties, homemade rye bread holds a special place due to its rustic charm, deep flavor, and wholesome ingredients.
Crafting this artisanal loaf from scratch not only fills your kitchen with an irresistible scent but also rewards you with a delightful treat that pairs exquisitely with various toppings or simply enjoyed on its own.
The History of Rye Bread
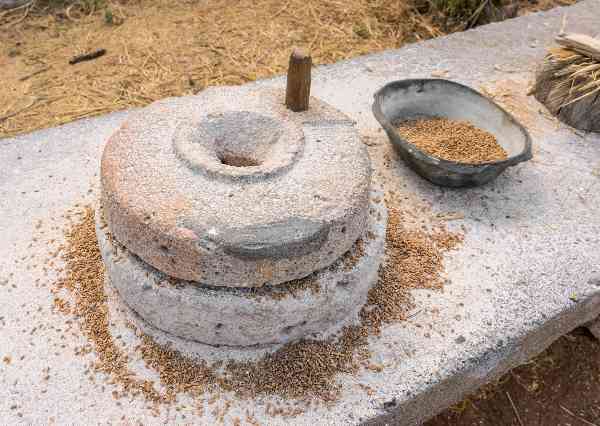
Rye bread traces its roots back centuries, with a rich history deeply embedded in the culture of many European countries. Its origins can be found in the Nordic and Baltic regions where rye grain, resilient to harsh climates, became a staple crop. Over time, rye bread evolved into numerous variations, each reflecting the unique culinary traditions of different cultures.
The Art of Baking Homemade Rye Bread
Making homemade rye bread is a fulfilling culinary journey that combines simple ingredients with patience and a dash of creativity. Here’s a time-tested recipe to create your own flavorful loaf.

Homemade Rye Bread Recipe
Ingredients:
- 1 ½ cups rye flour
- 2 ½ cups bread flour
- 2 ¼ teaspoons active dry yeast
- 1 ½ cups lukewarm water
- 2 tablespoons molasses or honey
- 2 tablespoons olive oil
- 2 teaspoons salt
- Cornmeal (for dusting)
Instructions:
- Activate the yeast: In a small bowl, dissolve the yeast in lukewarm water and let it sit for about 5-10 minutes until it becomes frothy.
- Combine the ingredients: In a large mixing bowl, mix the rye flour, bread flour, salt, molasses or honey, and olive oil. Gradually pour in the activated yeast mixture. Stir until a rough dough forms.
- Knead the dough: Transfer the dough to a floured surface and knead it for about 10-12 minutes until it becomes smooth and elastic. You can also use a stand mixer with a dough hook attachment for this step.
- First rise: Place the dough in a greased bowl, cover it with a clean kitchen towel, and let it rise in a warm, draft-free place for 1-1.5 hours, or until it doubles in size.
- Shape the loaf: After the first rise, punch down the dough to release the air. Shape it into a round or oval loaf and place it on a baking sheet sprinkled with cornmeal. Cover the loaf loosely with a kitchen towel and allow it to rise for another 45 minutes to 1 hour.
- Preheat the oven: While the dough is rising, preheat your oven to 425°F (220°C). Place an empty baking dish on the bottom rack of the oven.
- Bake the bread: Once the dough has risen, slash the top with a sharp knife or blade to create decorative patterns. Place the baking sheet with the loaf in the oven and pour a cup of water into the preheated baking dish at the bottom to create steam. Bake the bread for 30-35 minutes or until it turns golden brown and sounds hollow when tapped on the bottom.
- Cool and enjoy: Remove the bread from the oven and let it cool on a wire rack for at least 30 minutes before slicing. Enjoy the warm, freshly baked rye bread with your favorite spreads or as a delightful accompaniment to soups and salads.
Tips for Perfect Rye Bread
- Use lukewarm water to activate the yeast; water that’s too hot can kill the yeast.
- For added flavor, you can incorporate caraway seeds or other spices into the dough.
- Let the bread cool completely before slicing to prevent it from becoming gummy.
In Conclusion
Homemade rye bread is more than just a culinary creation; it’s a labor of love that brings warmth and comfort to any meal. The process of making this bread allows for experimentation and personalization, making each loaf a unique masterpiece. So, roll up your sleeves, embrace the therapeutic art of baking, and savor the delightful flavors of your own freshly baked homemade rye bread.