Straw Bale Gardening ‒ The Complete Beginner’s Guide
Make sure to like Living Green and Frugally on Facebook, Shop at amazon to help support my site and explore our PINTEREST BOARDS for innovative ways you can become self-sufficient.
Straw bale gardening is not something I’ve tried before, but this year is going to be my first. The technique has been around for a while now. An American horticulturalist, Joel Karsten, has been using this system for over 20 years and now grows almost all his vegetables and herbs this way, using 25 bales to supply his family’s needs. You can get find his books on amazon if you want to read more about him
In this five chapter guide you’ll learn exactly what straw bale gardening is all about. By planning and preparing in advance, conditioning the bales, and choosing the right plants, you can build a solid basis to start growing and harvesting your own fruits and vegetables from straw bales this season.
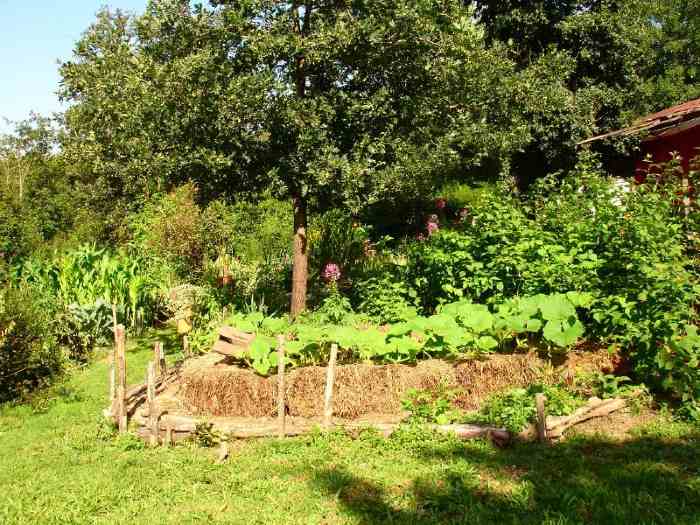
Benefits of bales
- The ability to place an instant garden wherever the sun shines
- A way to avoid poorly draining, hard-to-work or diseased soil
- A far less laborious gardening experience, eliminating digging and weeding
Step 1: Choose a Suitable Location Selecting the right spot in your garden is crucial for the success of your straw bale garden. Consider the sunlight requirements of the plants you intend to grow. Some crops thrive in full sun, while others prefer partial shade. Research the needs of your chosen plants to determine the best location.
Step 2: Watering Your Bale Water is essential for kickstarting the decomposition process within the straw bales. Since straw bales retain moisture differently from soil, they require frequent watering, especially during warm weather. Begin by thoroughly soaking the bales until water starts to drain out from the bottom. In hot conditions, new bales may need watering daily to maintain adequate moisture levels.
Step 3: Fertilize for Nutrient-Rich Soil To ensure your straw bales remain nutrient-rich throughout the growing season, apply a nitrogen-based liquid fertilizer. Follow the instructions provided on the fertilizer bottle, and apply it as needed to your bales. This step helps compensate for the lack of natural soil nutrients in the straw bales.
Best Plants to Start With: While straw bales are versatile and can support a wide range of plants, starting with certain varieties can help you get acquainted with this gardening method more easily. Here are some recommendations:
Tomatoes: Tomatoes thrive in the warmth provided by straw bales. Similar to traditional methods, they require full sun and support for healthy growth. If you’re starting with just one bale, begin by planting 2 to 3 small tomato plants. Ensure they have ample space to spread their roots and thrive.
Root Vegetables: Root vegetables, such as potatoes, are well-suited for straw bale gardening due to their low-maintenance nature. Plant potato seeds 16-18 inches apart within the straw bales, ensuring they’re adequately covered to prevent sunlight penetration. This setup encourages healthy root development and higher yields.
Strawberries: Fruits, including strawberries, flourish in straw bale gardens, especially when placed in sunny locations. Opt for strawberry varieties that don’t produce runners, as this prevents them from drooping onto the ground. With proper care and positioning, you can enjoy a bountiful harvest of juicy strawberries from your straw bale garden.
By following these simple steps and starting with beginner-friendly plants, you’ll be well on your way to experiencing the joys of straw bale gardening firsthand. Enjoy the process and the rewarding harvests that follow!