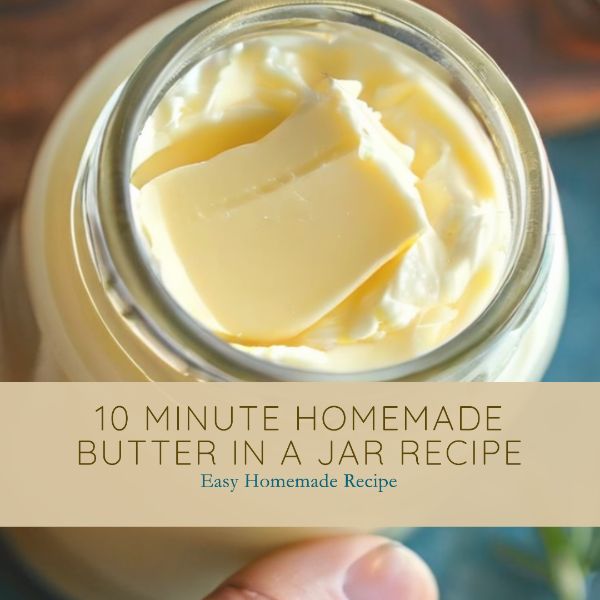
10 Minute Homemade Butter In A Jar Recipe
Make sure to like Living Green and Frugally on Facebook, Shop at amazon to help support my site and explore our PINTEREST BOARDS for innovative ways you can become self-sufficient.
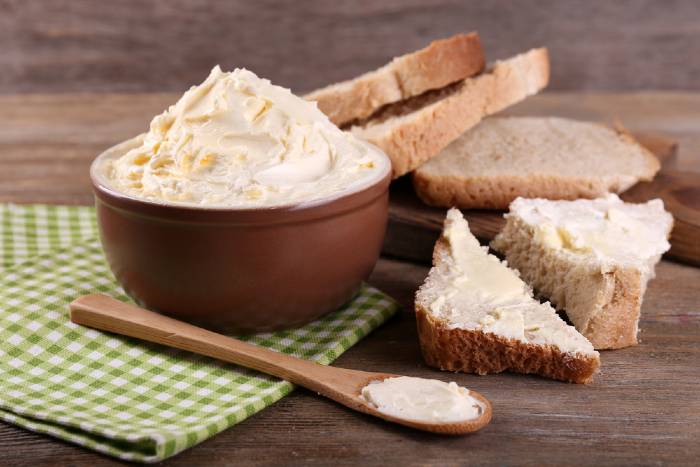
In the realm of culinary delights, few things evoke a sense of comfort and nostalgia quite like butter. Whether it’s slathered on warm toast, folded into flaky pastries, or simply used to elevate the flavor of a savory dish, butter is a versatile kitchen staple that has stood the test of time.
While store-bought options are readily available, there’s something undeniably special about crafting your own butter from scratch.
with this simple 10-minute homemade butter in a jar recipe, you can do just that with ease.
Ingredients:
- Heavy whipping cream (1 pint)
- Salt (optional)
Equipment:
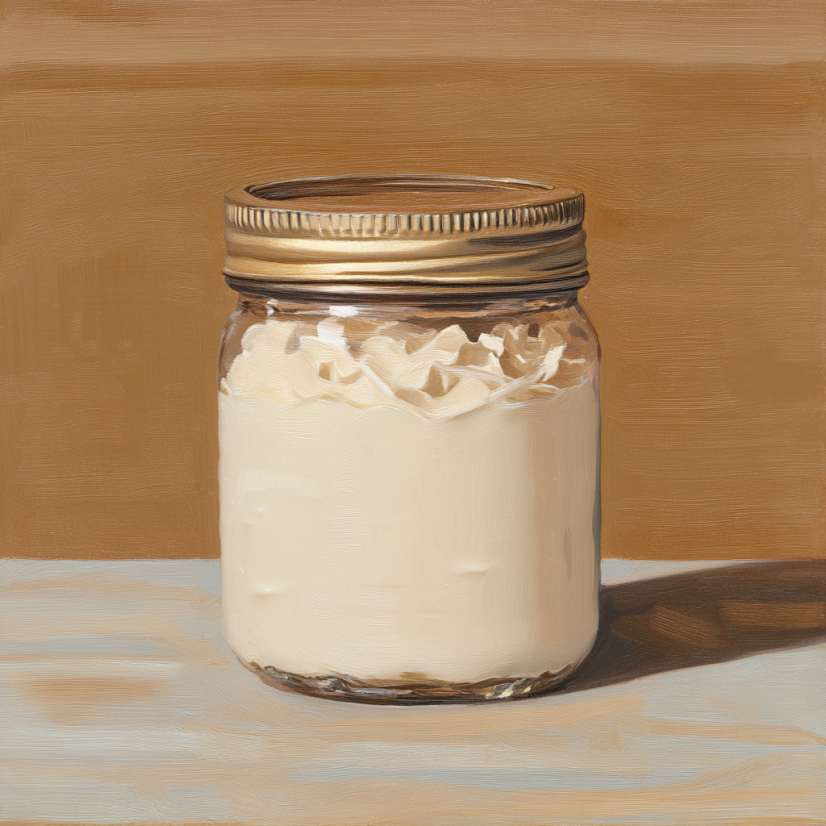
- Mason jar with lid
- Strainer or cheesecloth (optional)
Instructions:
Step 1: Pour the Cream
Begin by pouring the heavy whipping cream into the mason jar, filling it about halfway full. If desired, add a pinch of salt for seasoning. Secure the lid tightly onto the jar.
Step 2: Shake, Shake, Shake!
Now comes the fun part – the shaking! Hold the jar firmly with both hands and begin shaking vigorously. The goal here is to agitate the cream enough to cause the fat molecules to separate from the liquid, transforming it into butter.
Step 3: Keep Shaking
As you continue shaking, you’ll notice the cream starting to thicken and clump together. This is a sign that the butter is beginning to form. Be patient, as it may take several minutes of shaking to achieve the desired consistency.
Step 4: Drain (Optional)
If you prefer a smoother butter without any excess buttermilk, you can drain the mixture through a strainer or cheesecloth. Simply pour the contents of the jar into the strainer set over a bowl, allowing the liquid to drain away. Use a spoon to press out any remaining liquid from the butter.
Step 5: Shape and Store
Once you’ve drained any excess liquid, you can shape the butter into a ball or press it into a small container for storage. If you’d like, you can also add additional seasonings such as herbs or honey for a flavored butter variation. Store the homemade butter in the refrigerator until ready to use.
Tips:
- For best results, use cold heavy whipping cream straight from the refrigerator.
- If you prefer unsalted butter, simply omit the salt from the recipe.
- Experiment with different seasonings and flavorings to customize your butter to suit your tastes.
- Don’t be afraid to get creative – try incorporating ingredients like garlic, lemon zest, or even maple syrup for a unique twist.
Conclusion:
In just 10 minutes and with minimal effort, you can transform ordinary heavy whipping cream into a creamy, flavorful homemade butter that rivals anything you’ll find at the store. Not only is it a satisfying culinary project, but it also allows you to enjoy the simple pleasure of homemade goodness in every bite. So grab a jar, roll up your sleeves, and get ready to experience the joy of whisking wonders with this easy homemade butter recipe.